Feeds:
Posts
Comments

Posts Tagged ‘Crafts’

A brand new year!  Wow!

I think of what Anne Shirley said,
“Tomorrow is new, with no mistakes in it!”
(from Anne of Green Gables).

IMG_9610

I like to sew and quilt, but since I can’t take the sewing machine with me in the long car trips, I like to take something along that I can work on (when I’m not driving).

So, I’ve started a new crochet project.
I don’t know if it’s an early Christmas project (REALLY early), or if it’ll just be
a pretty red & white blanket.  I’ve done so many for different people,
but I haven’t made one for our home yet, so maybe this one is it??  We’ll see.

I’m using the With Love yarn, by Red Heart, and it’s going to be
a big granny square  (because that’s really all I know how to do!).

What are you working on?  Something new?
Or finishing up something from last year?
I have my own little stack of things I need to finish, too.

Happy New Year, friends!
And happy times with your hand crafts!

Daisy


Advertisement

Read Full Post »

Last week I knew I was going to see some long-time friends that I hadn’t seen in many years. I wanted to bring them something special that they would really appreciate. So, I asked my daughter if she would make some of her hand-lettering art pieces for me to give to them.

.

IMG_7874

.

She used watercolor background on some,
and a little touch of gold shimmer on each of them…

.

IMG_7872

.

I asked my friends beforehand what their favorite Scripture was
and also what color they liked…

.

fullsizeoutput_1a15

.

.

IMG_7875

.

She did such a beautiful job on each one, didn’t she?!
I found a special frame for each one and that made them even more beautiful.

If you could’ve seen their faces when they unwrapped them!  One of my friends, who recently lost every thing she owned in the Texas floods, had tears in her eyes.  She couldn’t speak for a few minutes, and just held the frame close against her.

My daughter wasn’t sure if her hand lettering pieces were good enough… I assured her they were. If you’d like to see more of her work, you can visit her on Instagram, at @analuisadesigns

.
Have a blessed weekend!

Daisy

.

.

.

.

Read Full Post »

I’ve been working, on & off, on these little blocks…

.

I didn’t want to use just plain white for the background, which is what I’ve done so many times…

I wanted something more fun and out of the usual for me…

.

.

I love this shade of blue… makes me smile as I sew…

.

.

I used the template for mini periwinkle and the papers for wacky web pattern, both from Missouri Star Quilt Co.

.

.

I used the Arbor Blossom charm pack. So much fun to work with these bright and cheery fabrics!

.

.

I’m still not sure what I’m going to make with these blocks…

.

.

What do you think? Quilt? Placemats?

.

I thought of maybe making a picnic table quilt?

Should I use the red thread or the blue thread for the hand-quilting??

.

I’ll appreciate your input!

.

Have a blessed weekend!

Daisy

Read Full Post »

I love making things for my grand kids!  The tiny pieces and fabrics are so much fun to work with!

.


.

.

My daughter gave me this magazine about two years ago.  I’ve looked through it countless times, dreaming planning which projects I was going to make, with what fabric, and for whom.


.

You see the project pictured on the top right?  That’s the one I had picked out for one of my grand kids birthday.  I just thought it looked so cute!

If you’d like to get the pattern, you can find it by clicking here.  I love the website for this magazine!  It has so many ideas, patterns, and helpful tips!  The designer of this project is Jo Carter, and her website is http://www.twoowls.typepad.co.uk.  

.

The instructions are easy to understand and follow.  I must confess that as I pieced the bed, I wondered how this “rectangle” would become a bed, but as I went along, following the pattern, it all made sense and worked perfectly.

.

.

.

.

I love patchwork quilts, don’t you?

.


.

.

For the mice, I decided to use print instead of solid fabric.  


.

.

It was fun sewing on the tails and working on their faces.  As you can tell, I decided to use a fine-tip permanent marker (instead of embroidery) on the faces.  I was short on time… I had to get this in the mail in time for a birthday surprise!


.

.


.

If you’ve got any projects or magazine clippings filed under “someday”. . .  Choose one and get started!

It’ll be fun!

Happy sewing and a great weekend to you!

Daisy

Read Full Post »

There are so many cute things we can make with just a bunch of little pieces of fabric sewn together.  

 .

This is a little patchwork cover I made for my daughter to keep her hand-lettering sketch book in.

.

.

.

I sewed a little piece of elastic ribbon to the back so that it could wrap around the button on the front and form a closure.

.

.

.

Here’s a view of the whole thing.

All I did was sew together 2 1/2 inch squares (a mini charm pack), from the Farmhouse collection by Figtree & Co, for Moda. There’s 42 squares in each pack so I had some leftover squares for another little project.

I bought the fabric from Missouri Star Quilt Co, where I buy most of my pre-cuts.  If you enjoy quilting or sewing, you should definitely check out their daily deal!  It’s a great bargain and sometimes they have a special sale where they offer multiple “daily deals”.  Their website is Missouri Quilt Co.  

.

.

.

I like this group of fabrics!  They are so cheerful and colorful.

For the quilting, I used one of the stitches on my machine – it’s curvy and adds a little more interest than just straight stitching.  It’s also easier for me, since I’m not too practiced with machine quilting.

.

.

On the inside, I put pockets on each side so she could keep her rulers, pens, and markers in there.  I wanted a little more color in there so I added two squares on each side.

.

.

.

After I sewed the elastic ribbon onto the back, I went ahead and sewed a tiny button on top so it would look pretty and the stitches wouldn’t show.

.

.

.

For the closure, a shiny button with pretty “diamond” stones.

.

.

.
I love projects like these that I can finish in one day.  

Working with these fabrics is fun and it made me smile seeing the pretty prints and words.

What projects have you been working on lately?  Can you believe we are already at the end of April??  I’m thinking I better plan ahead for Christmas gifts now if I want to finish them in time.  

.

Have a great weekend and happy sewing!

.

Daisy

Read Full Post »

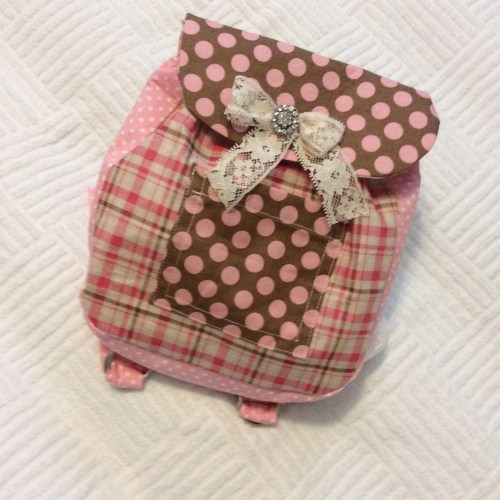
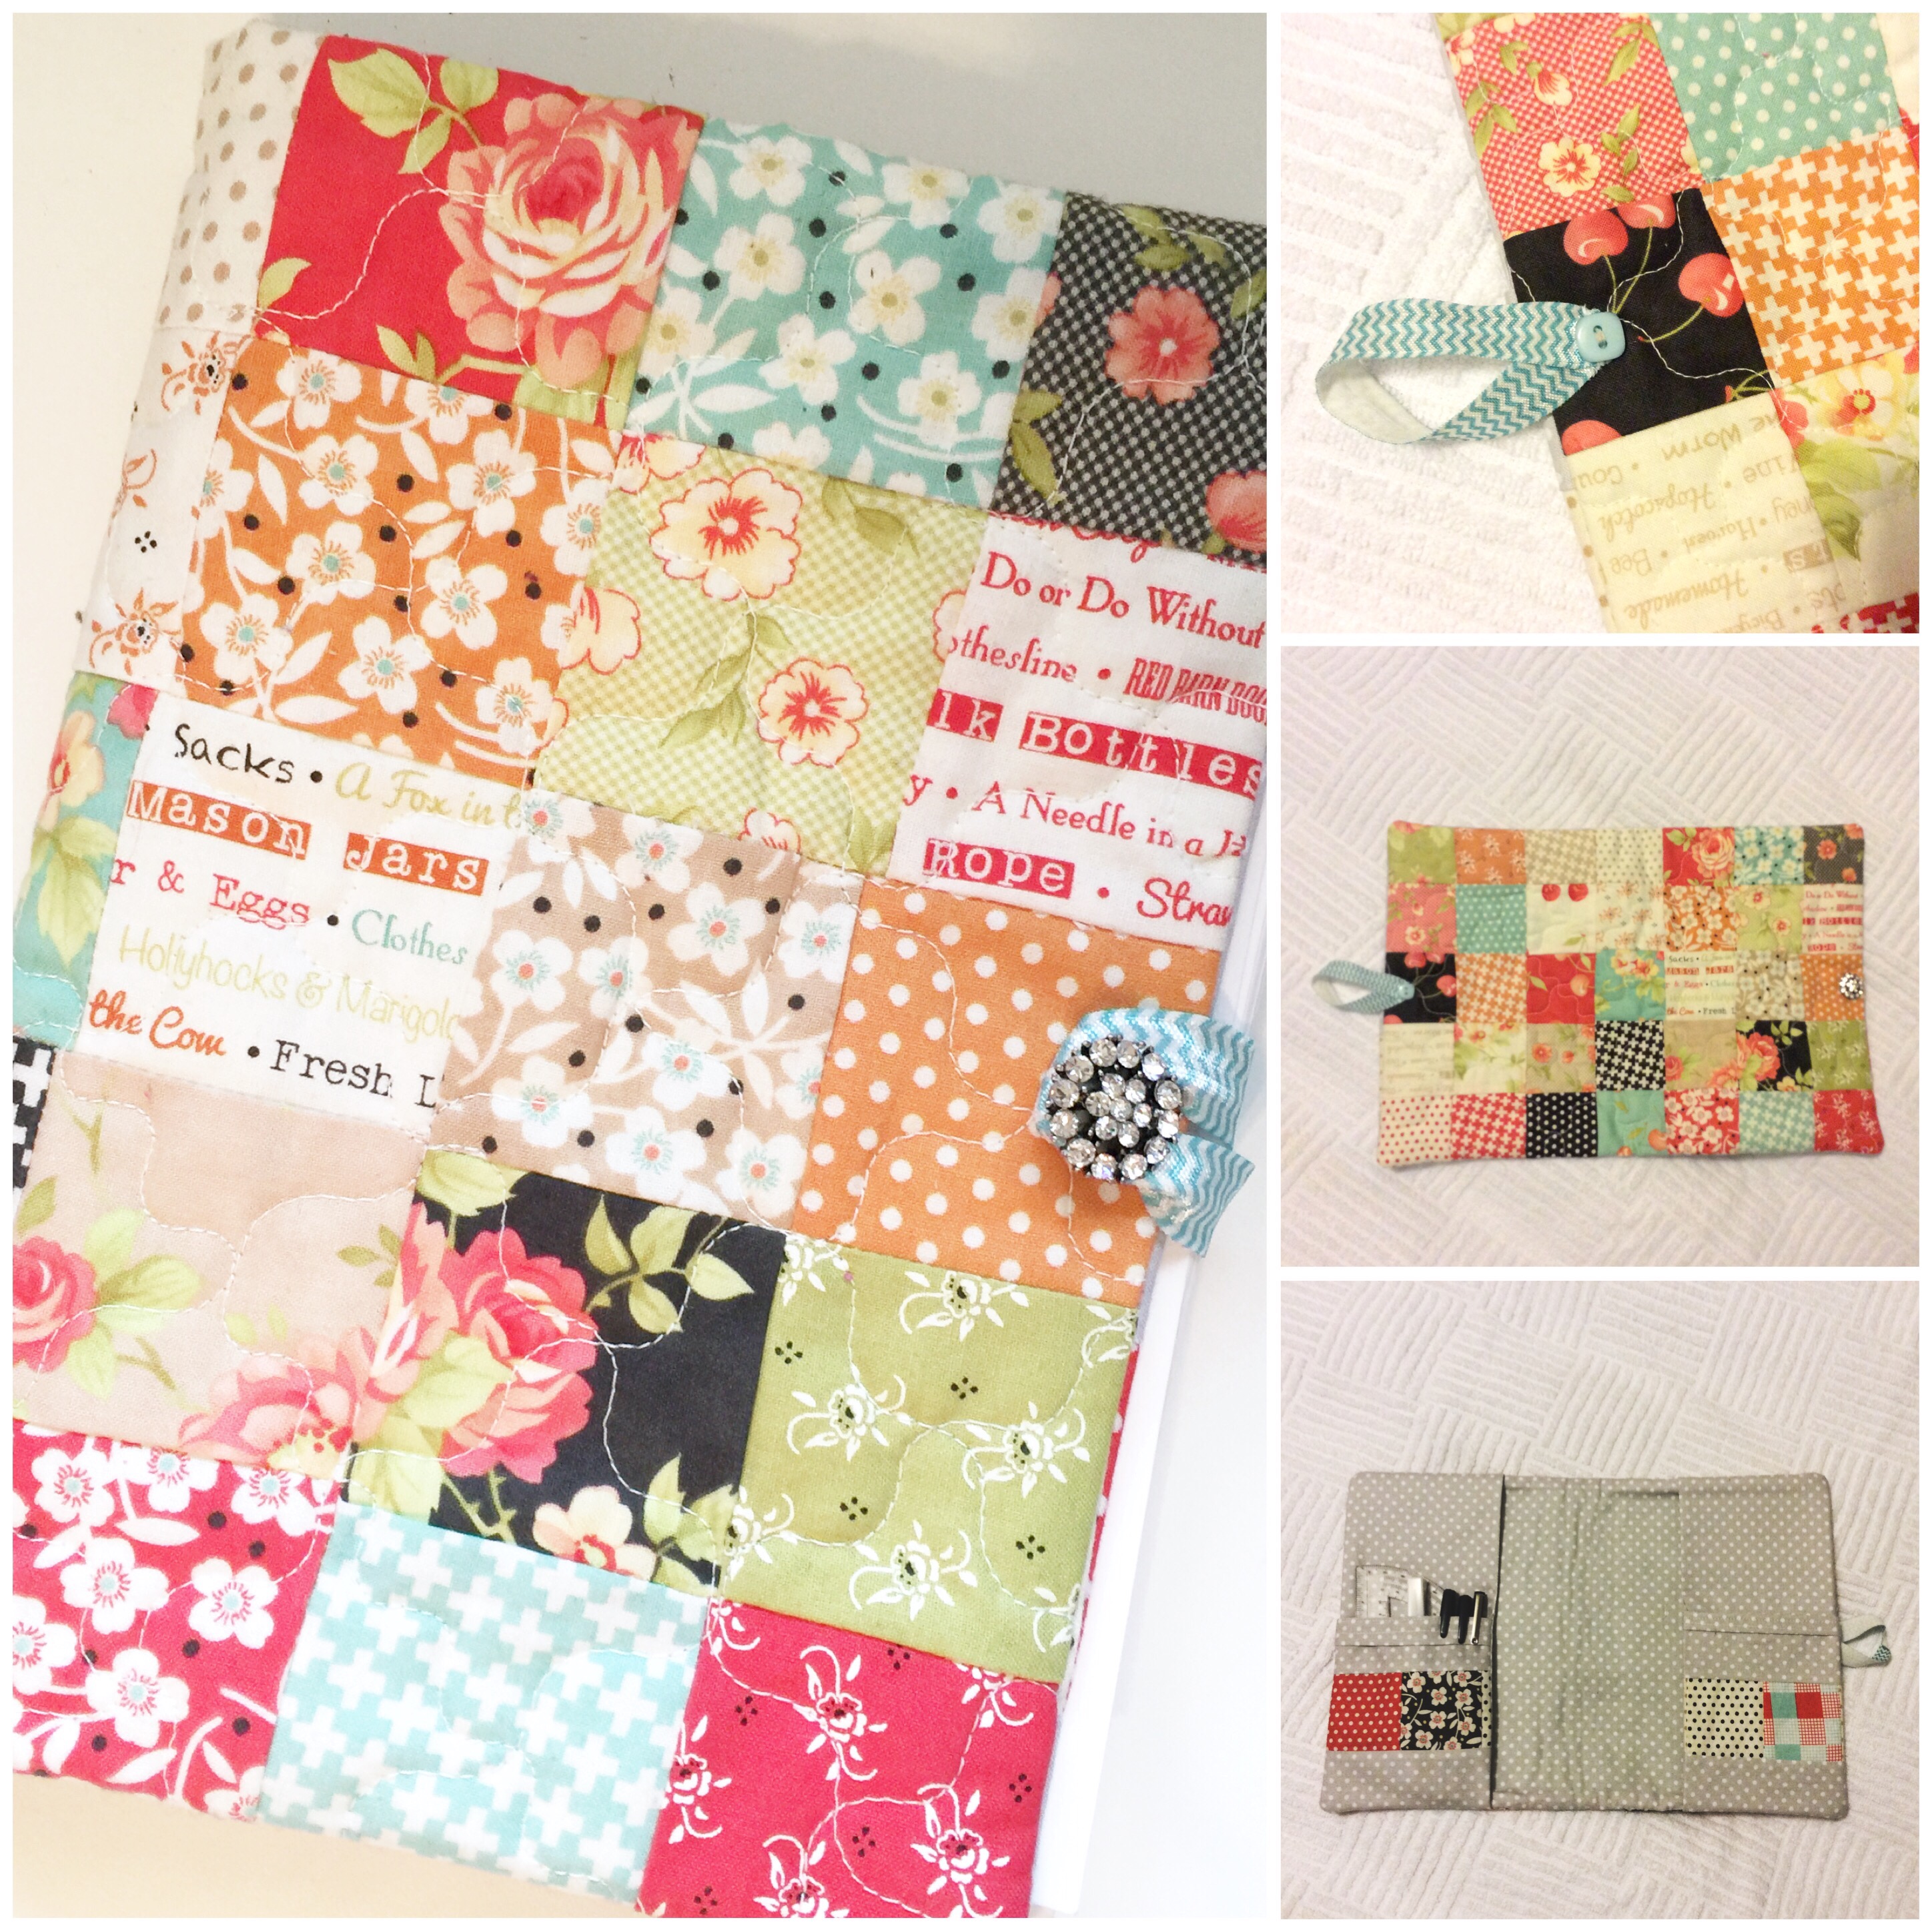
I got to sew some pretty little things for my granddaughter who turned two recently…

And one of them was this cute little back pack.

.

.

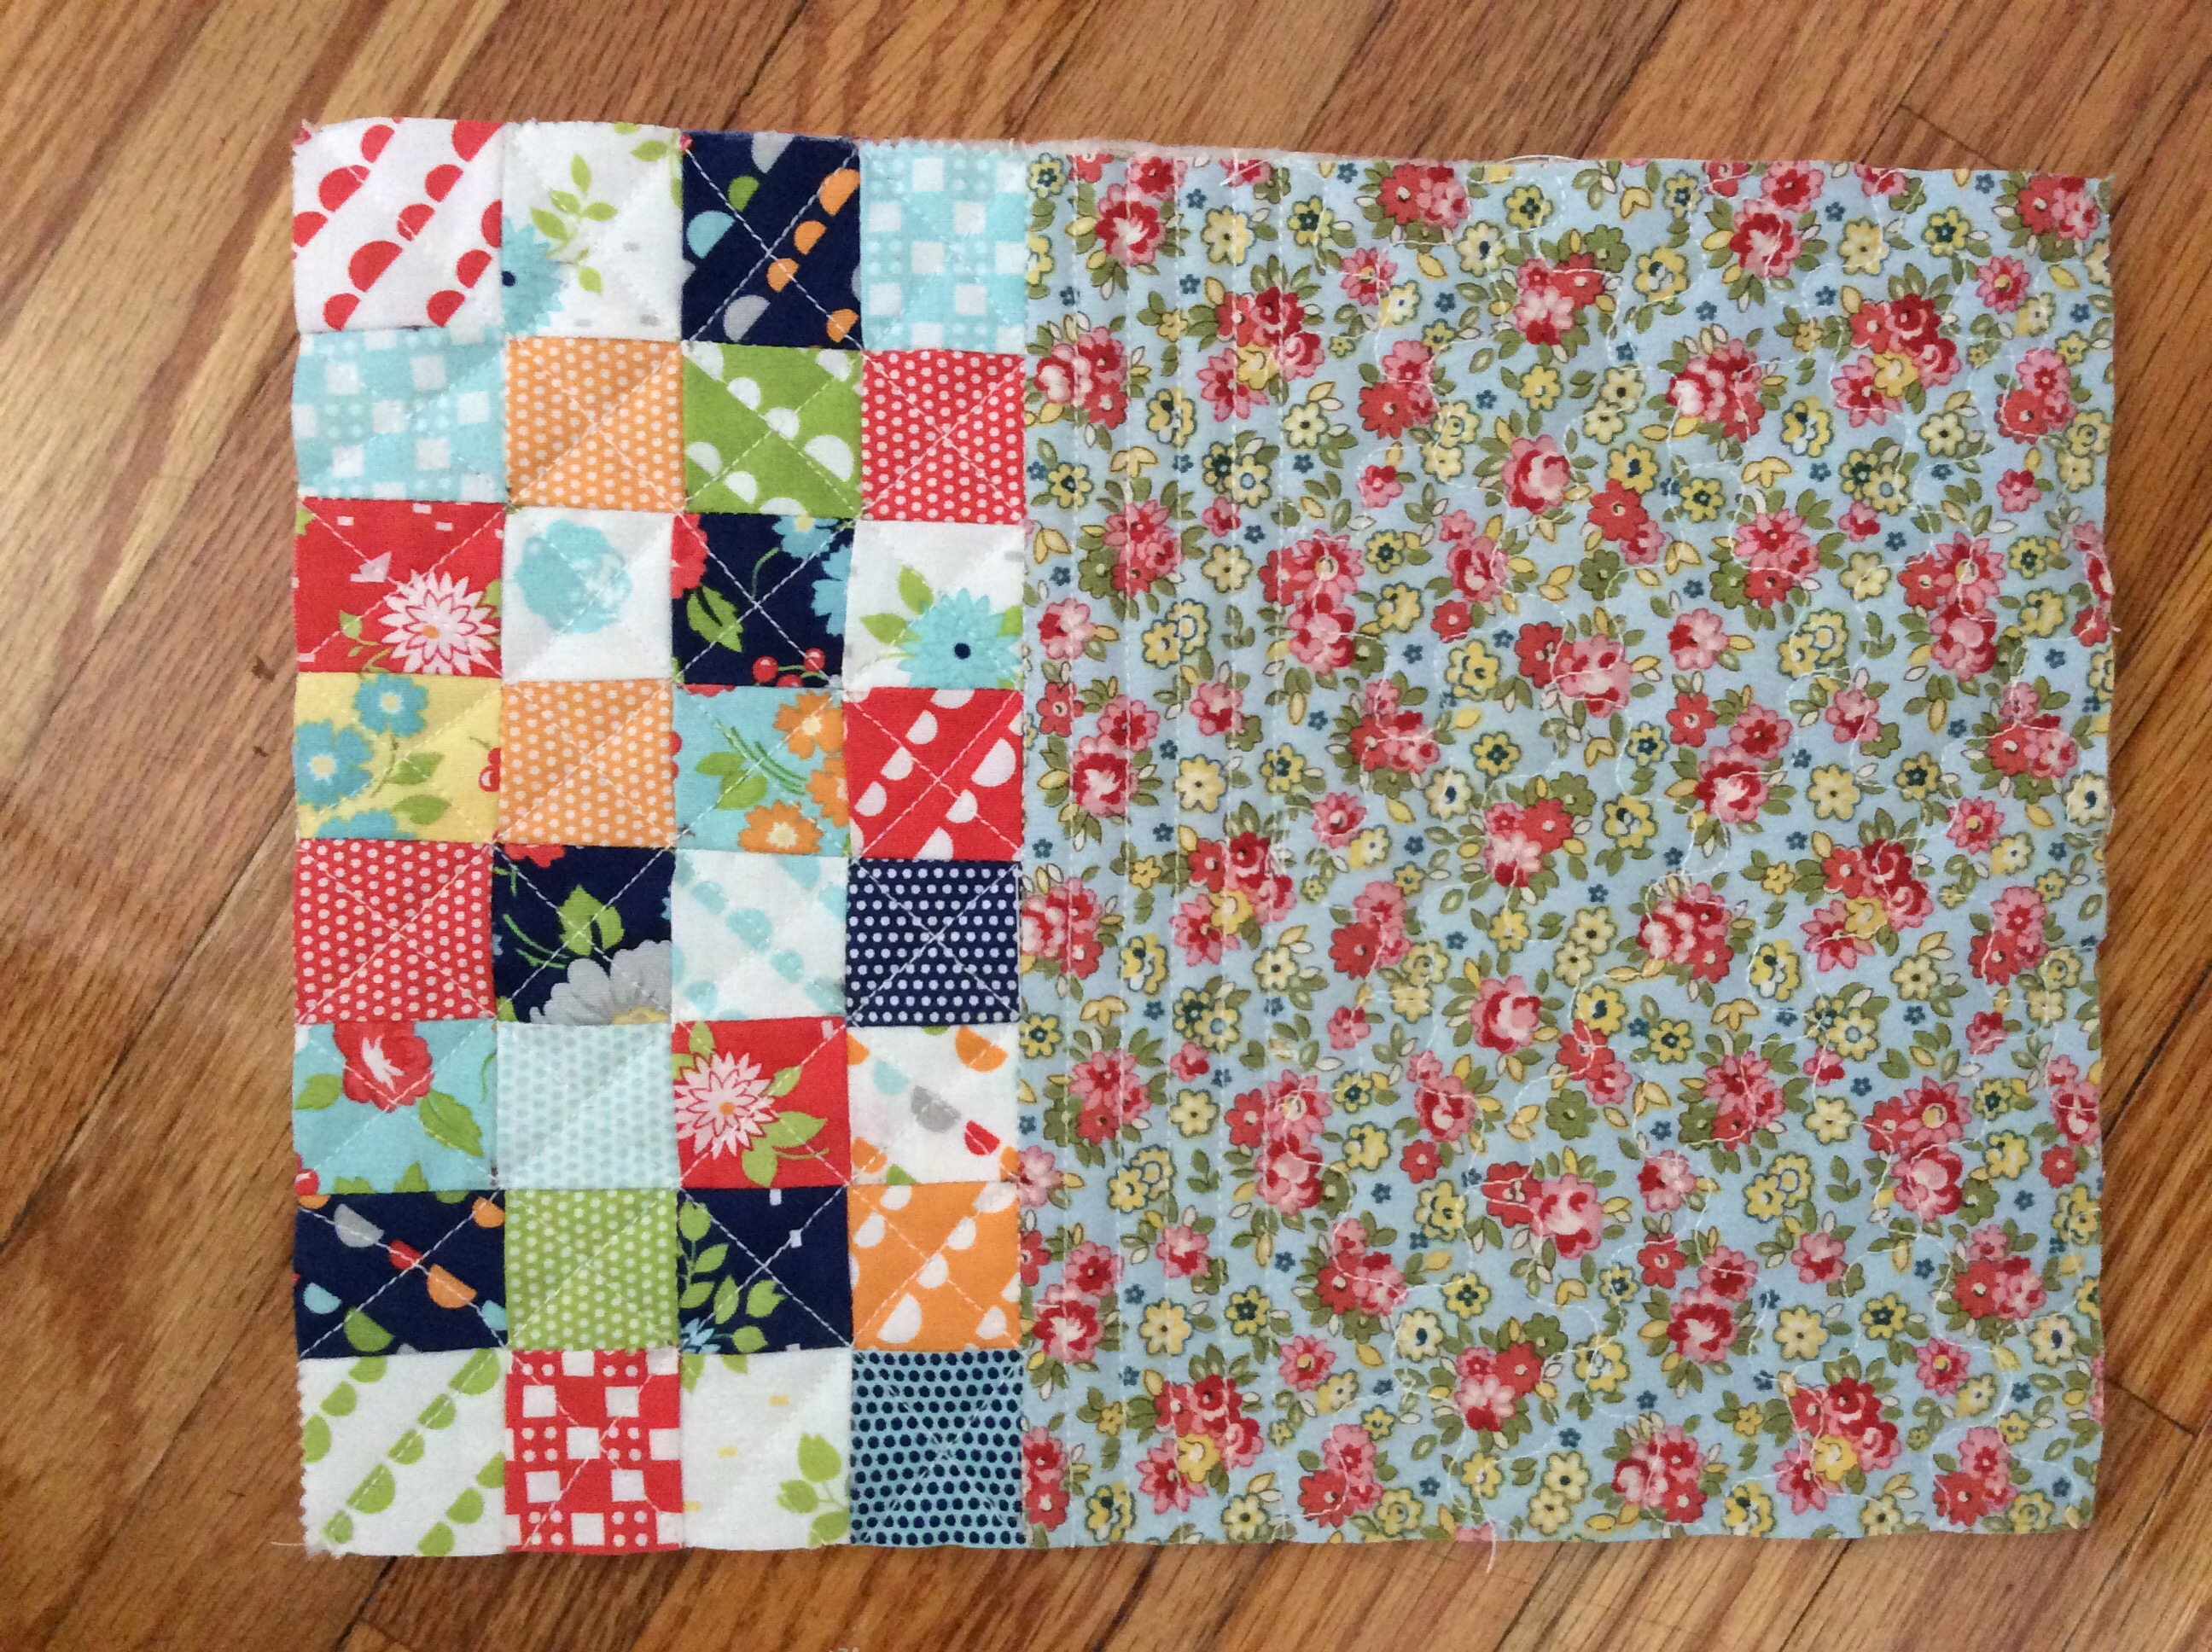
The pattern is Simplicity #5284.  It’s a mini version of a full-size, or adult, back pack.  

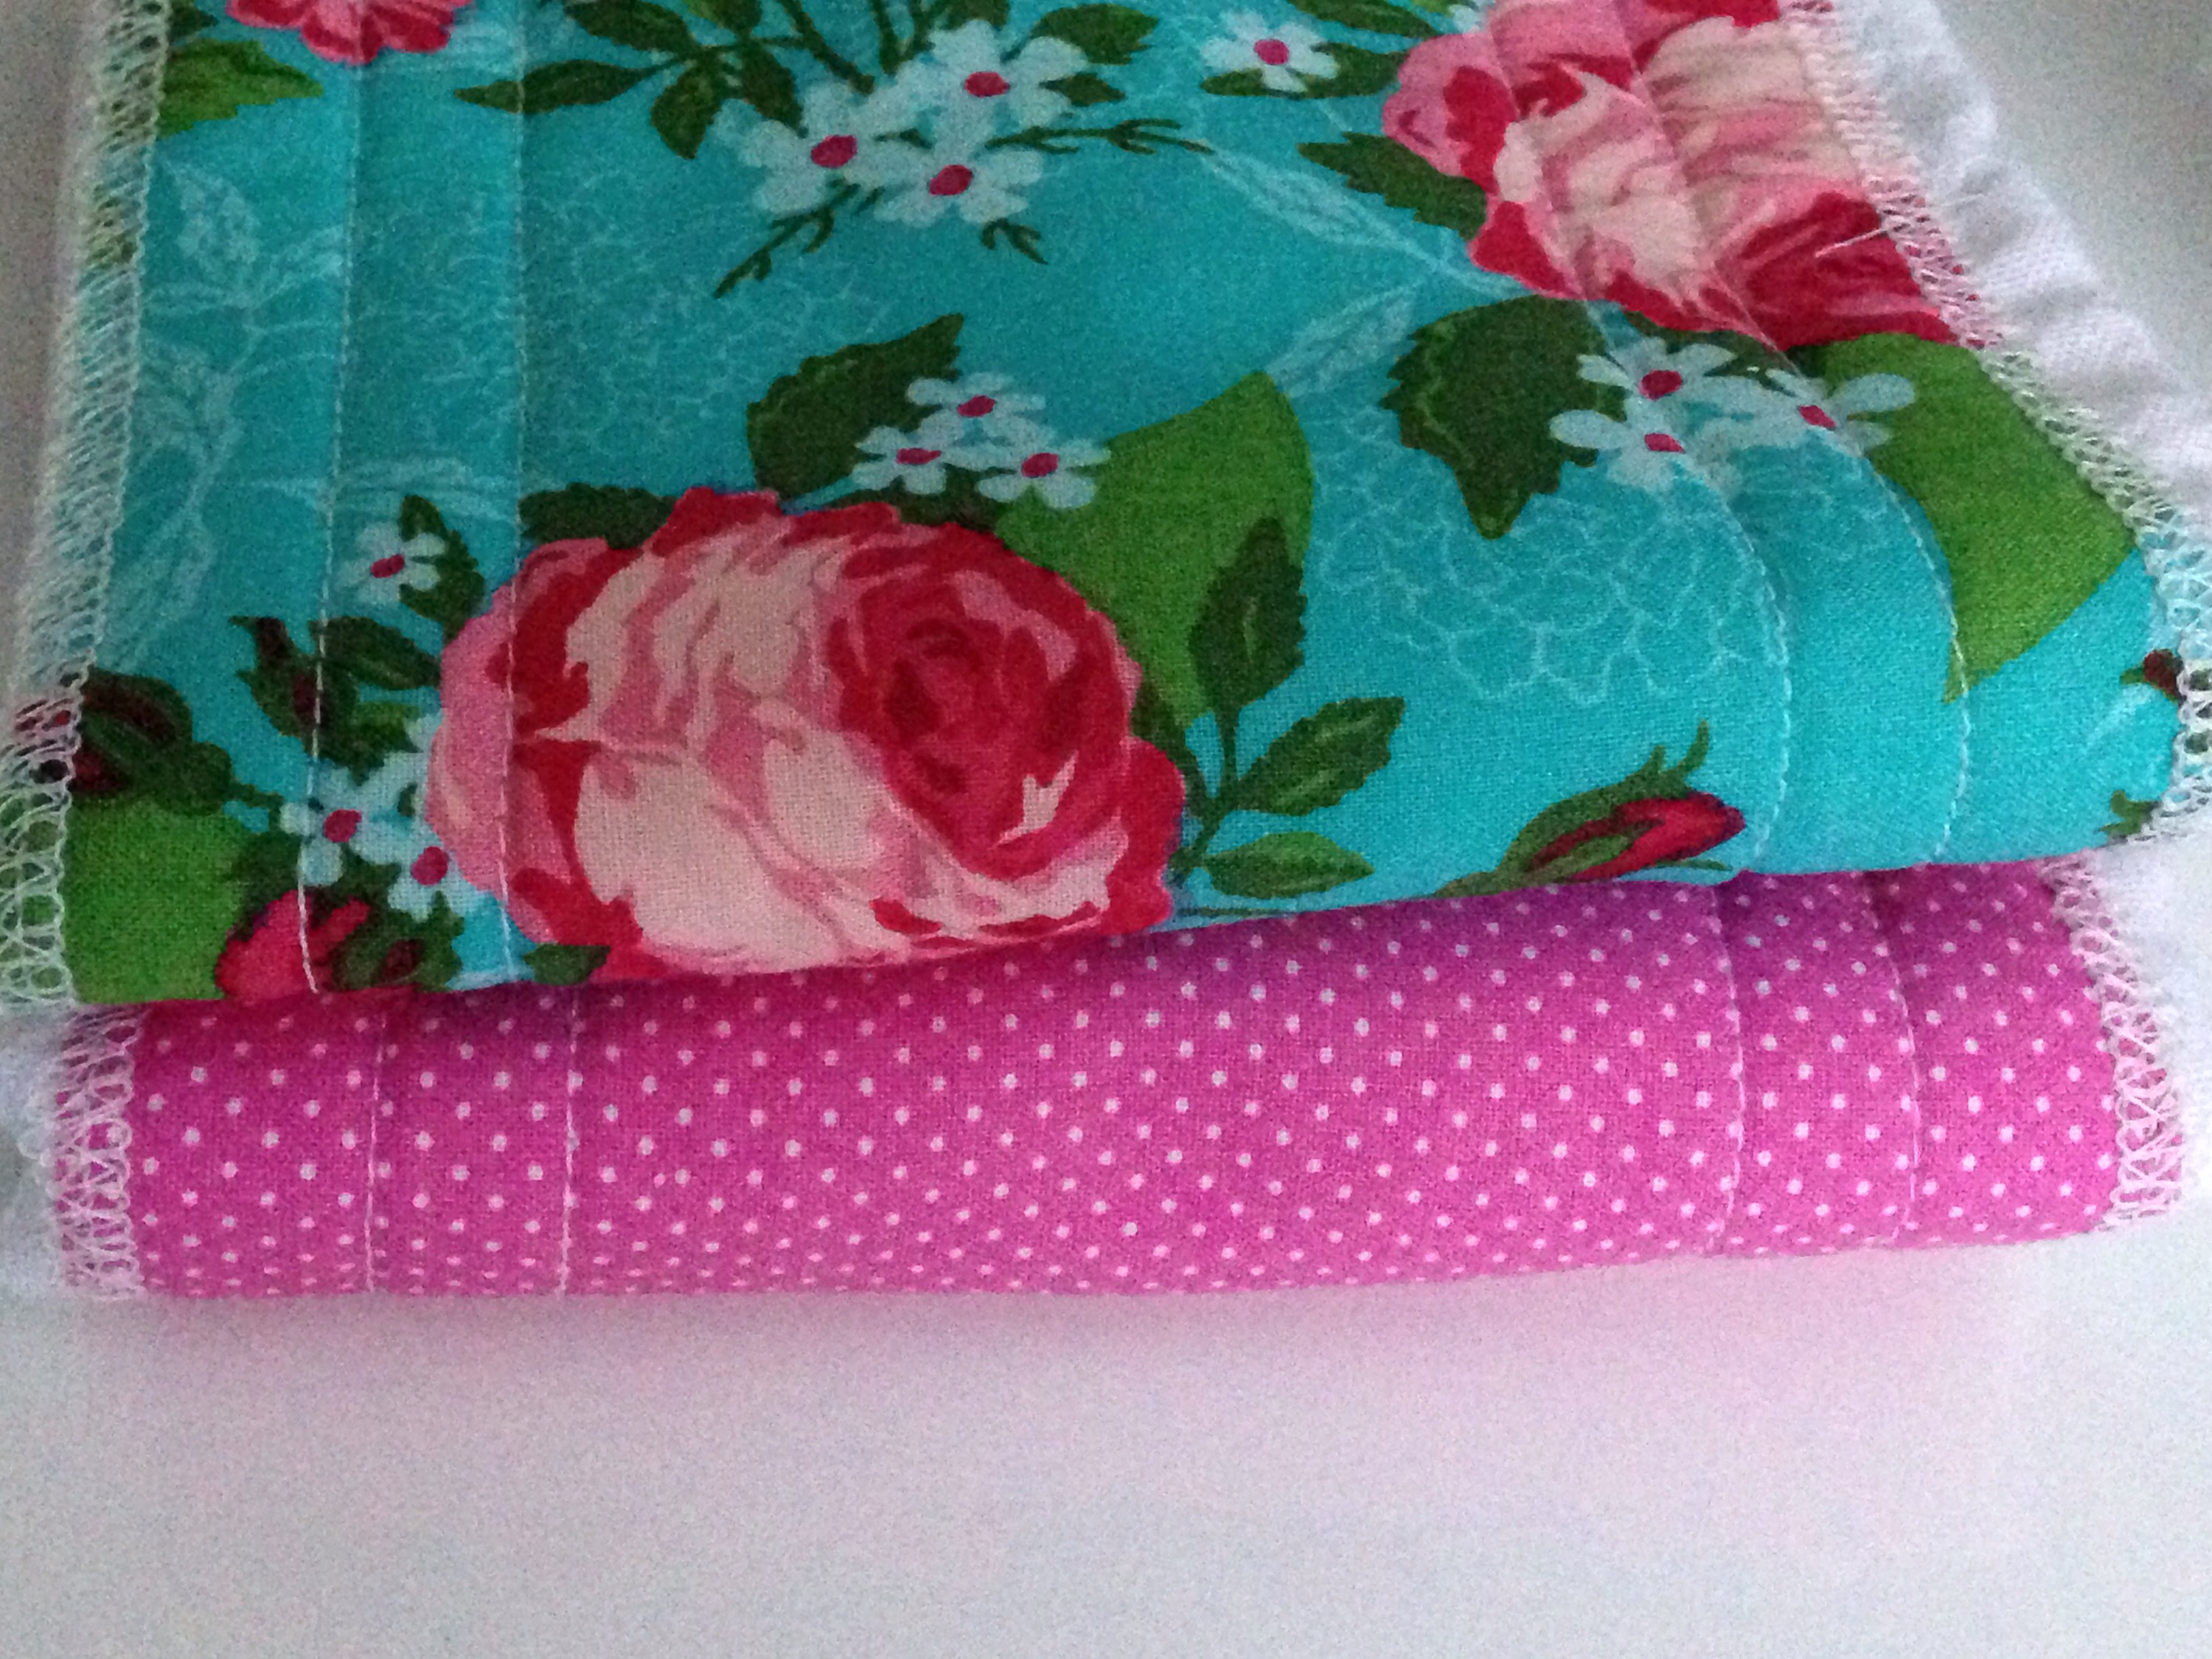
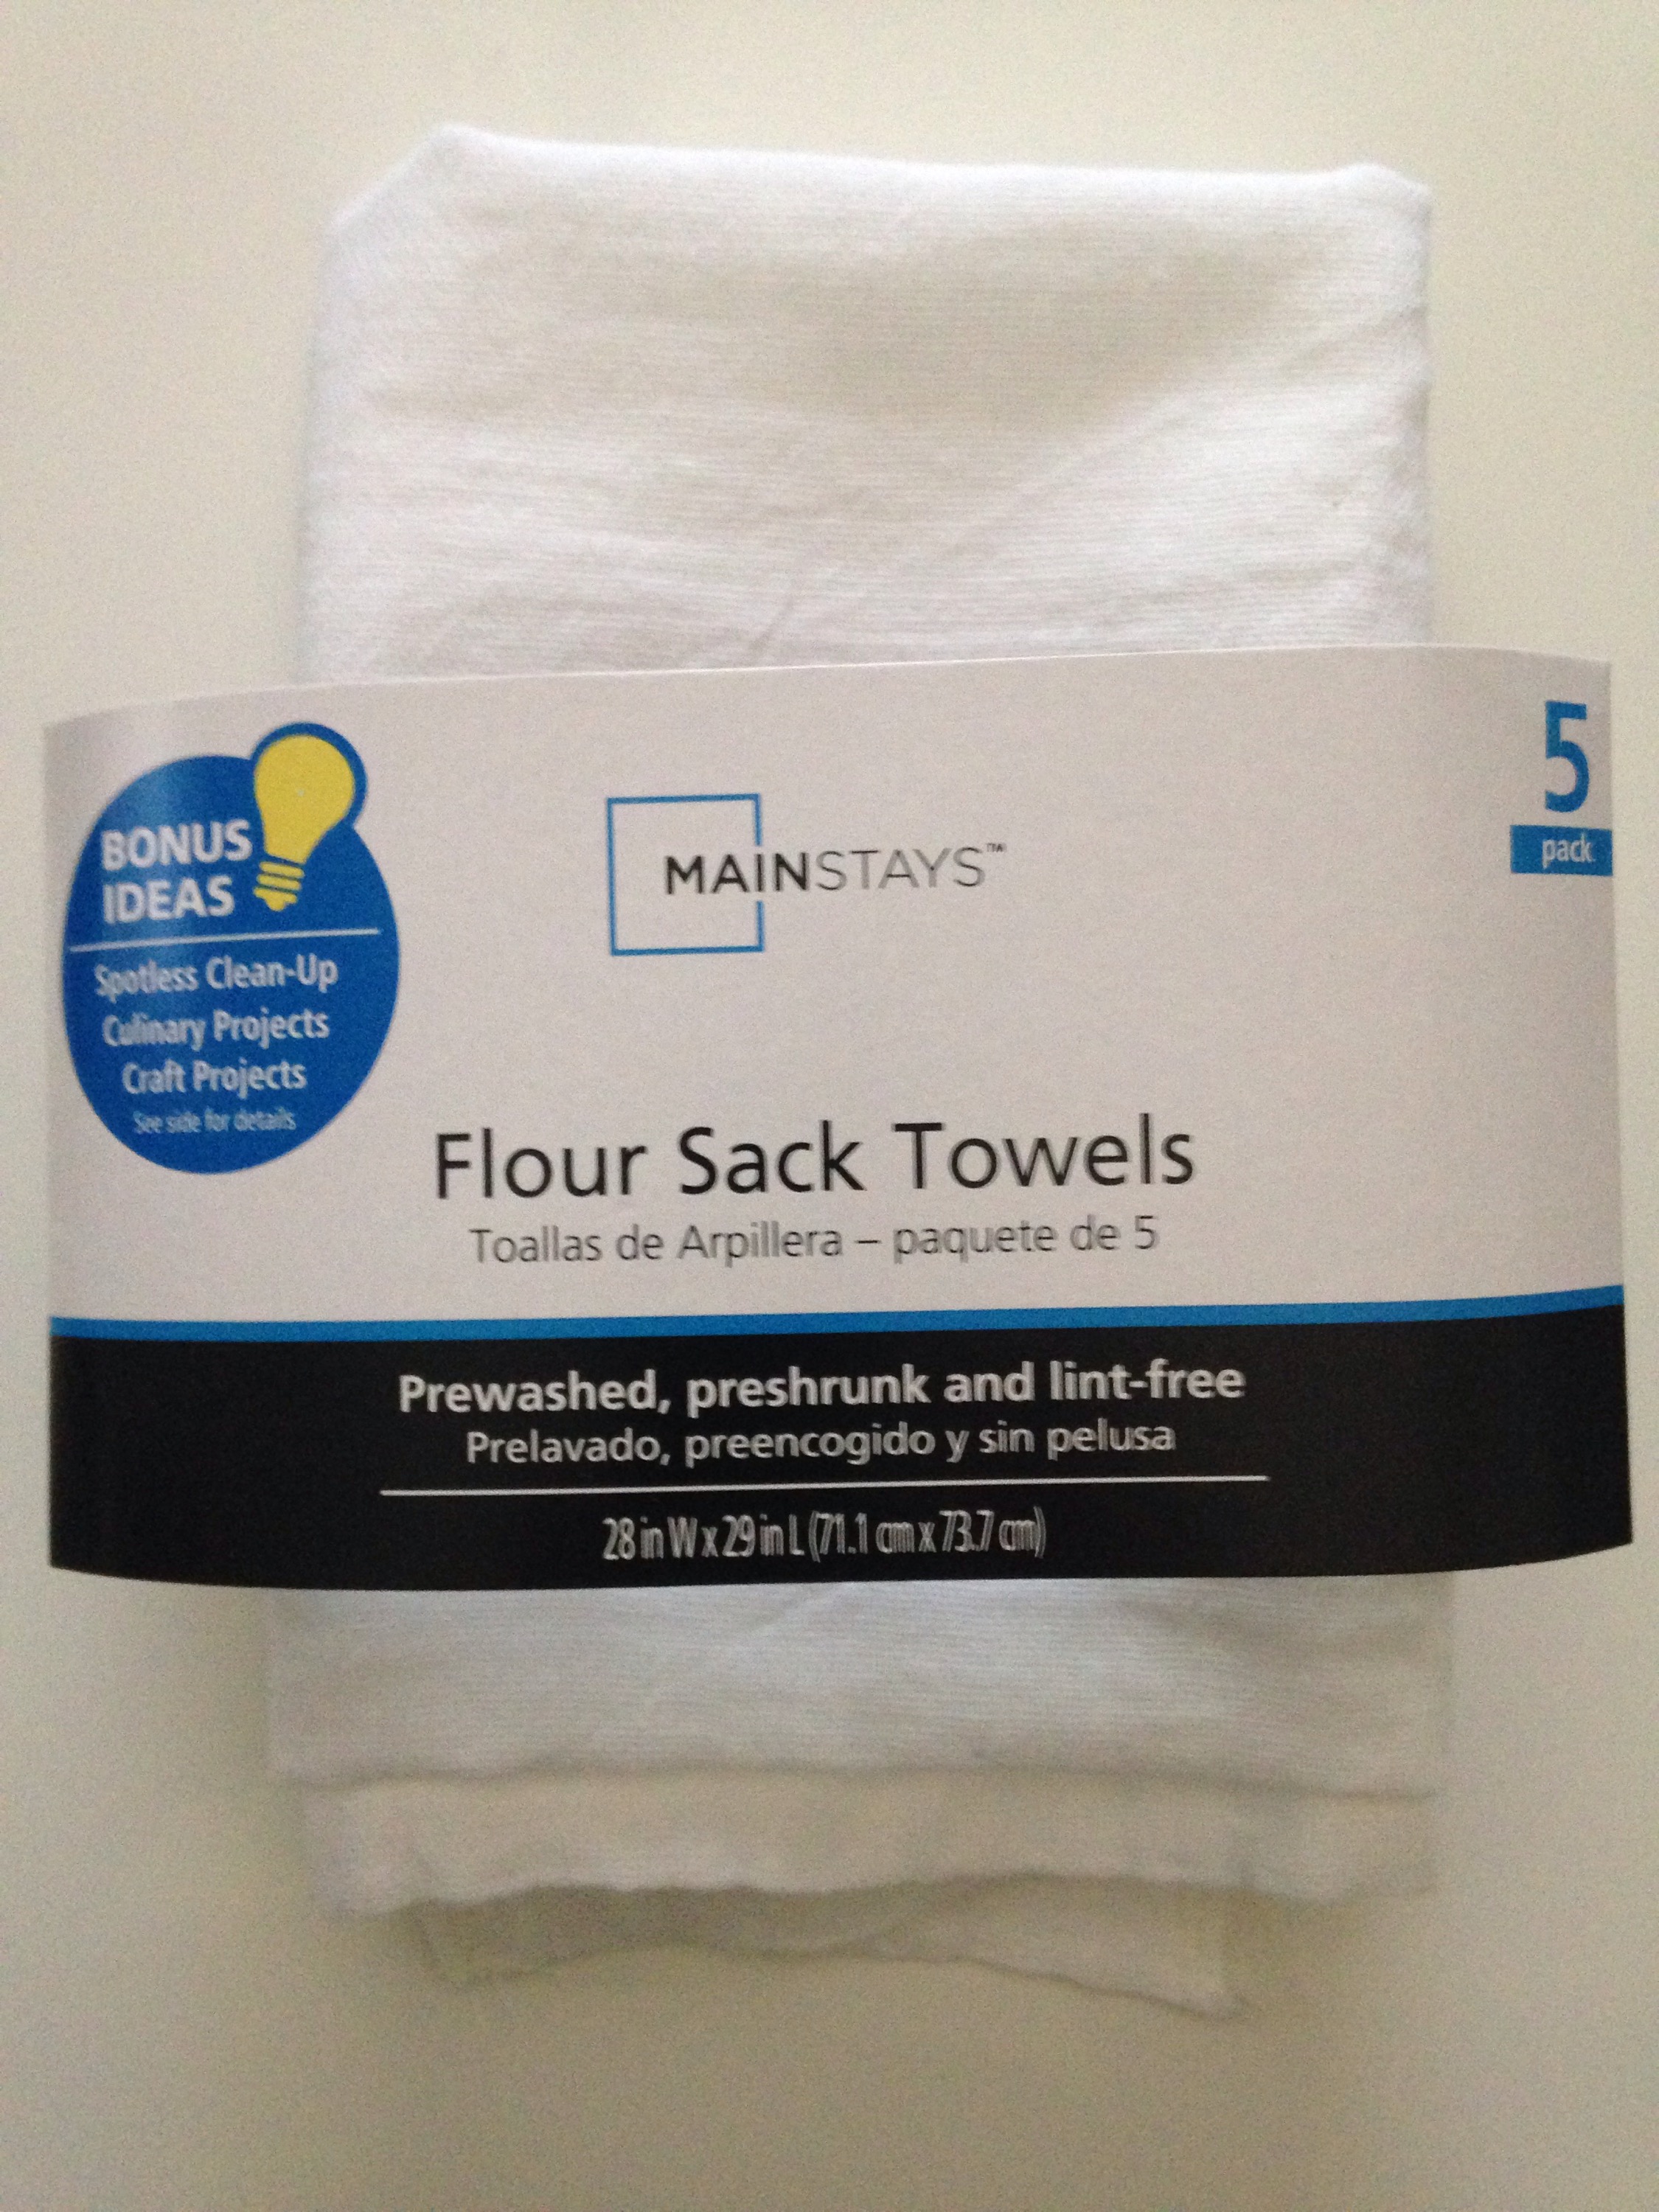
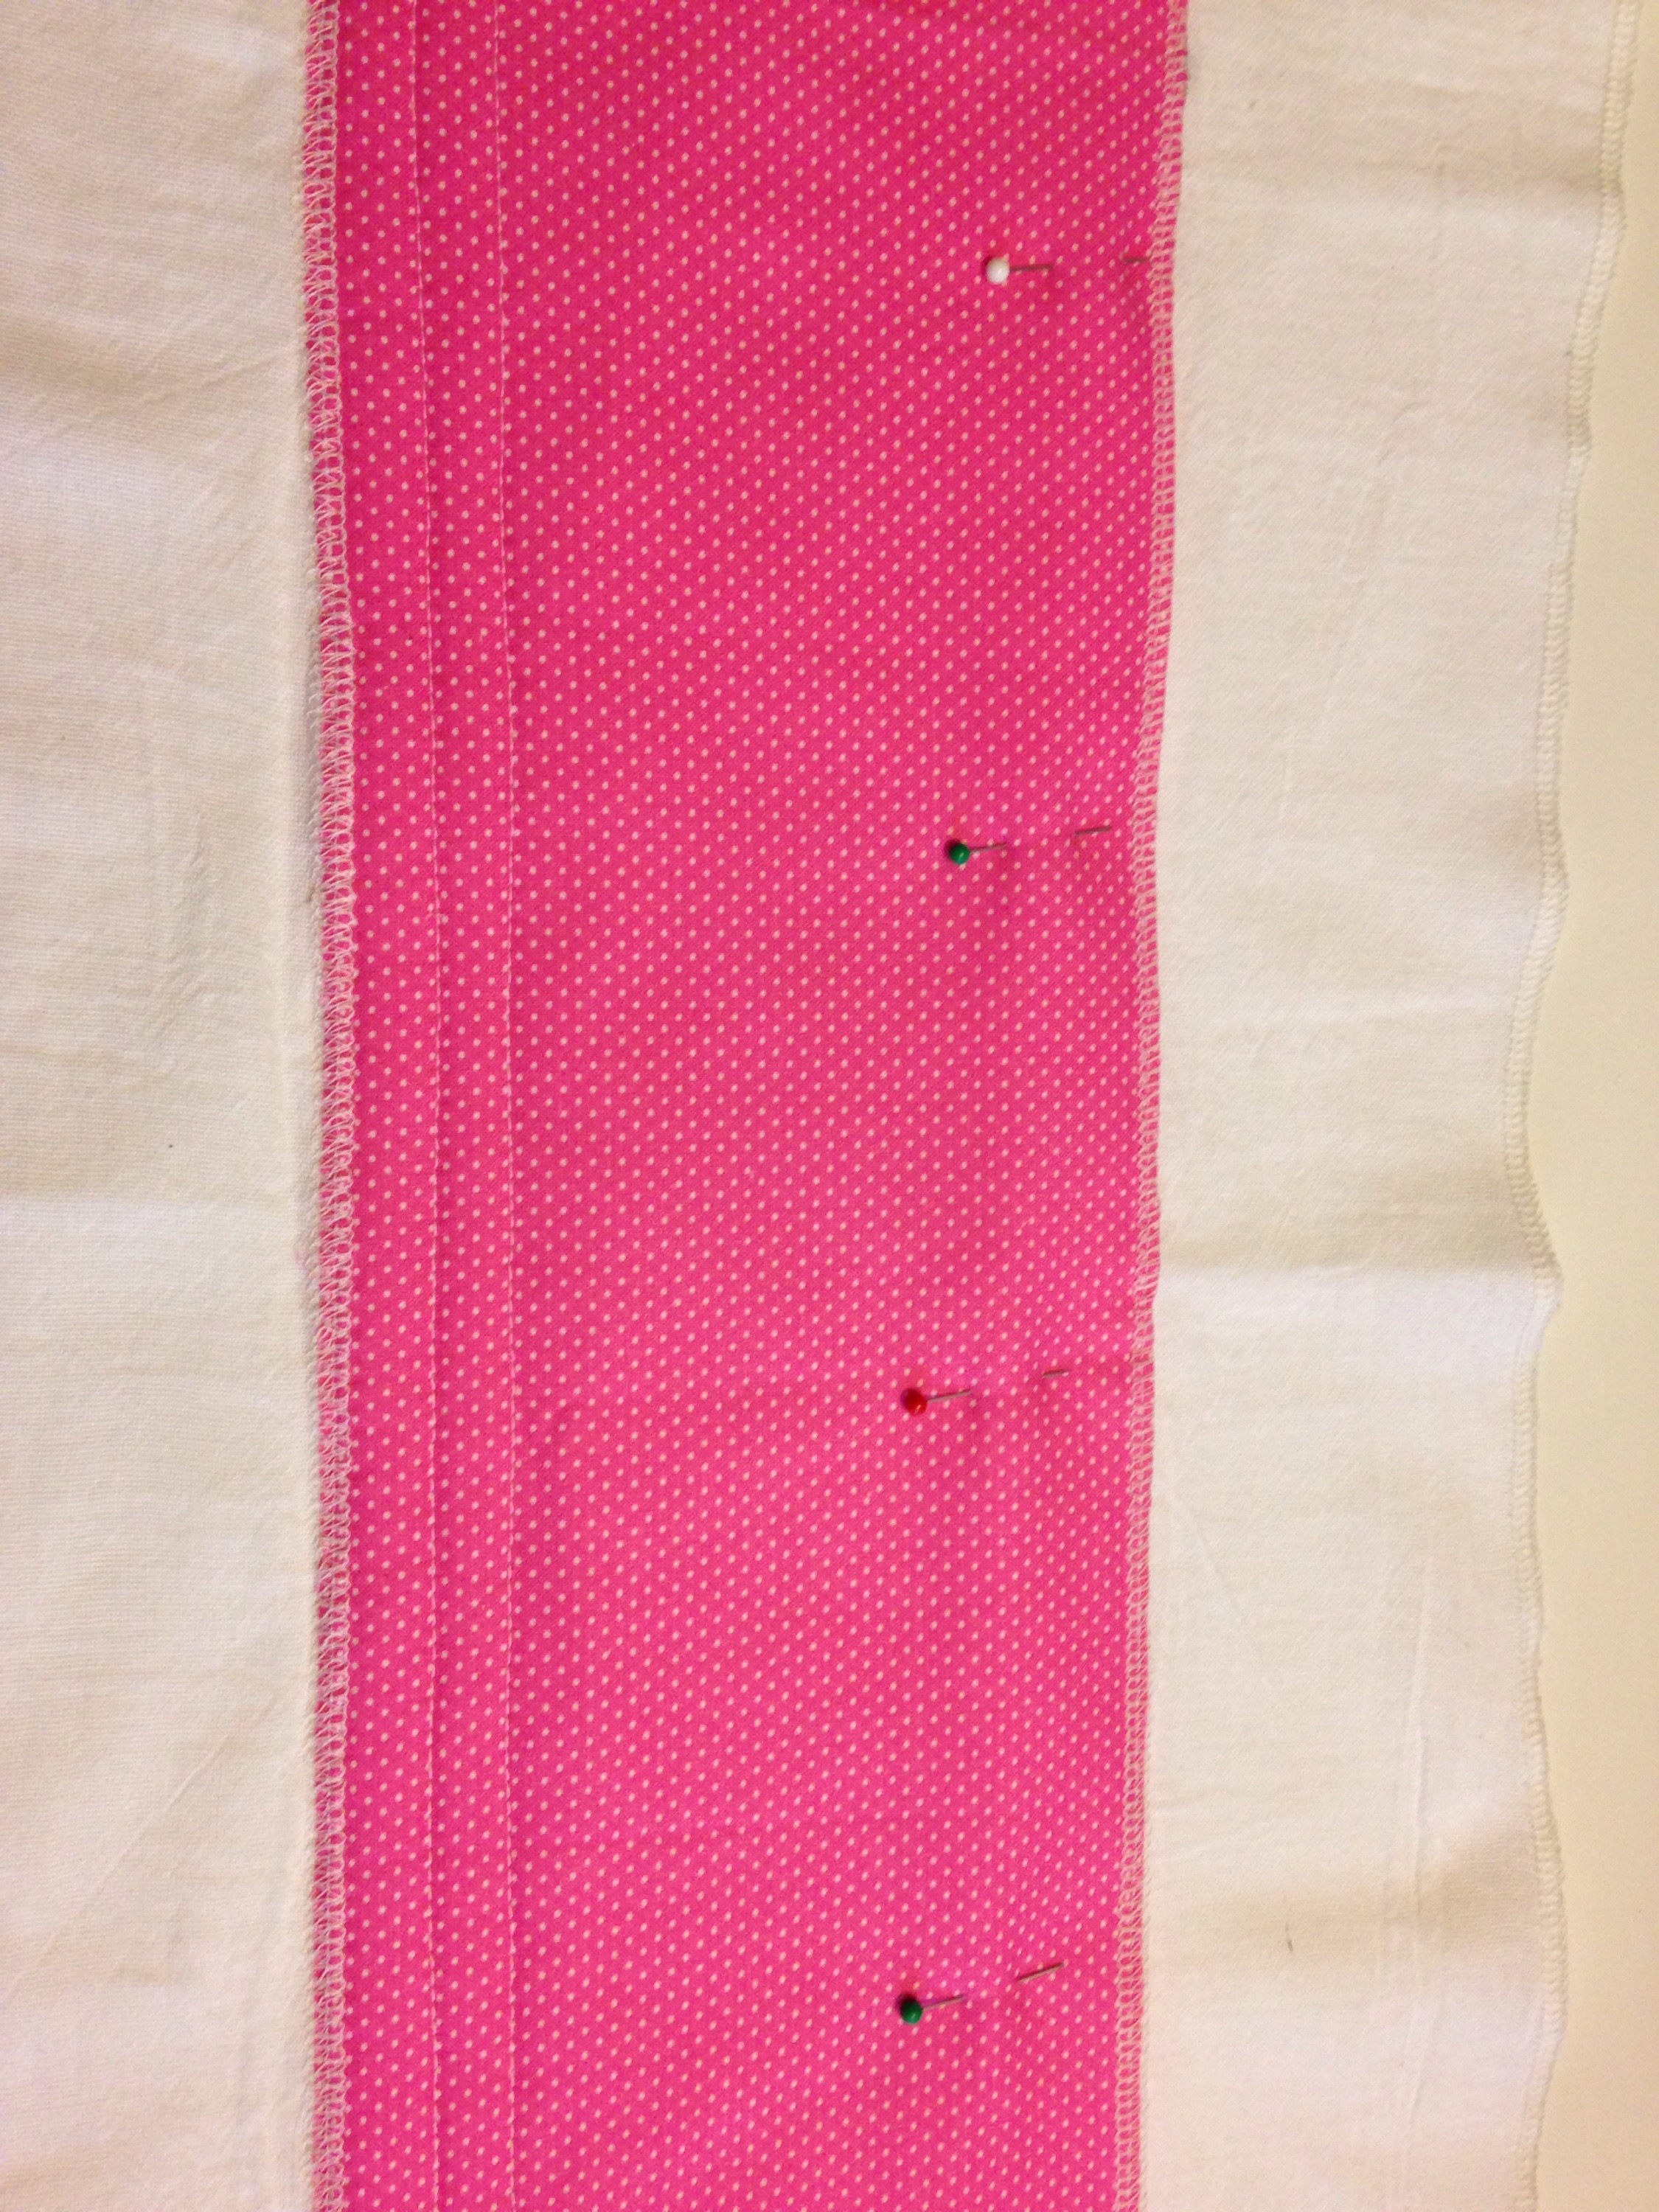
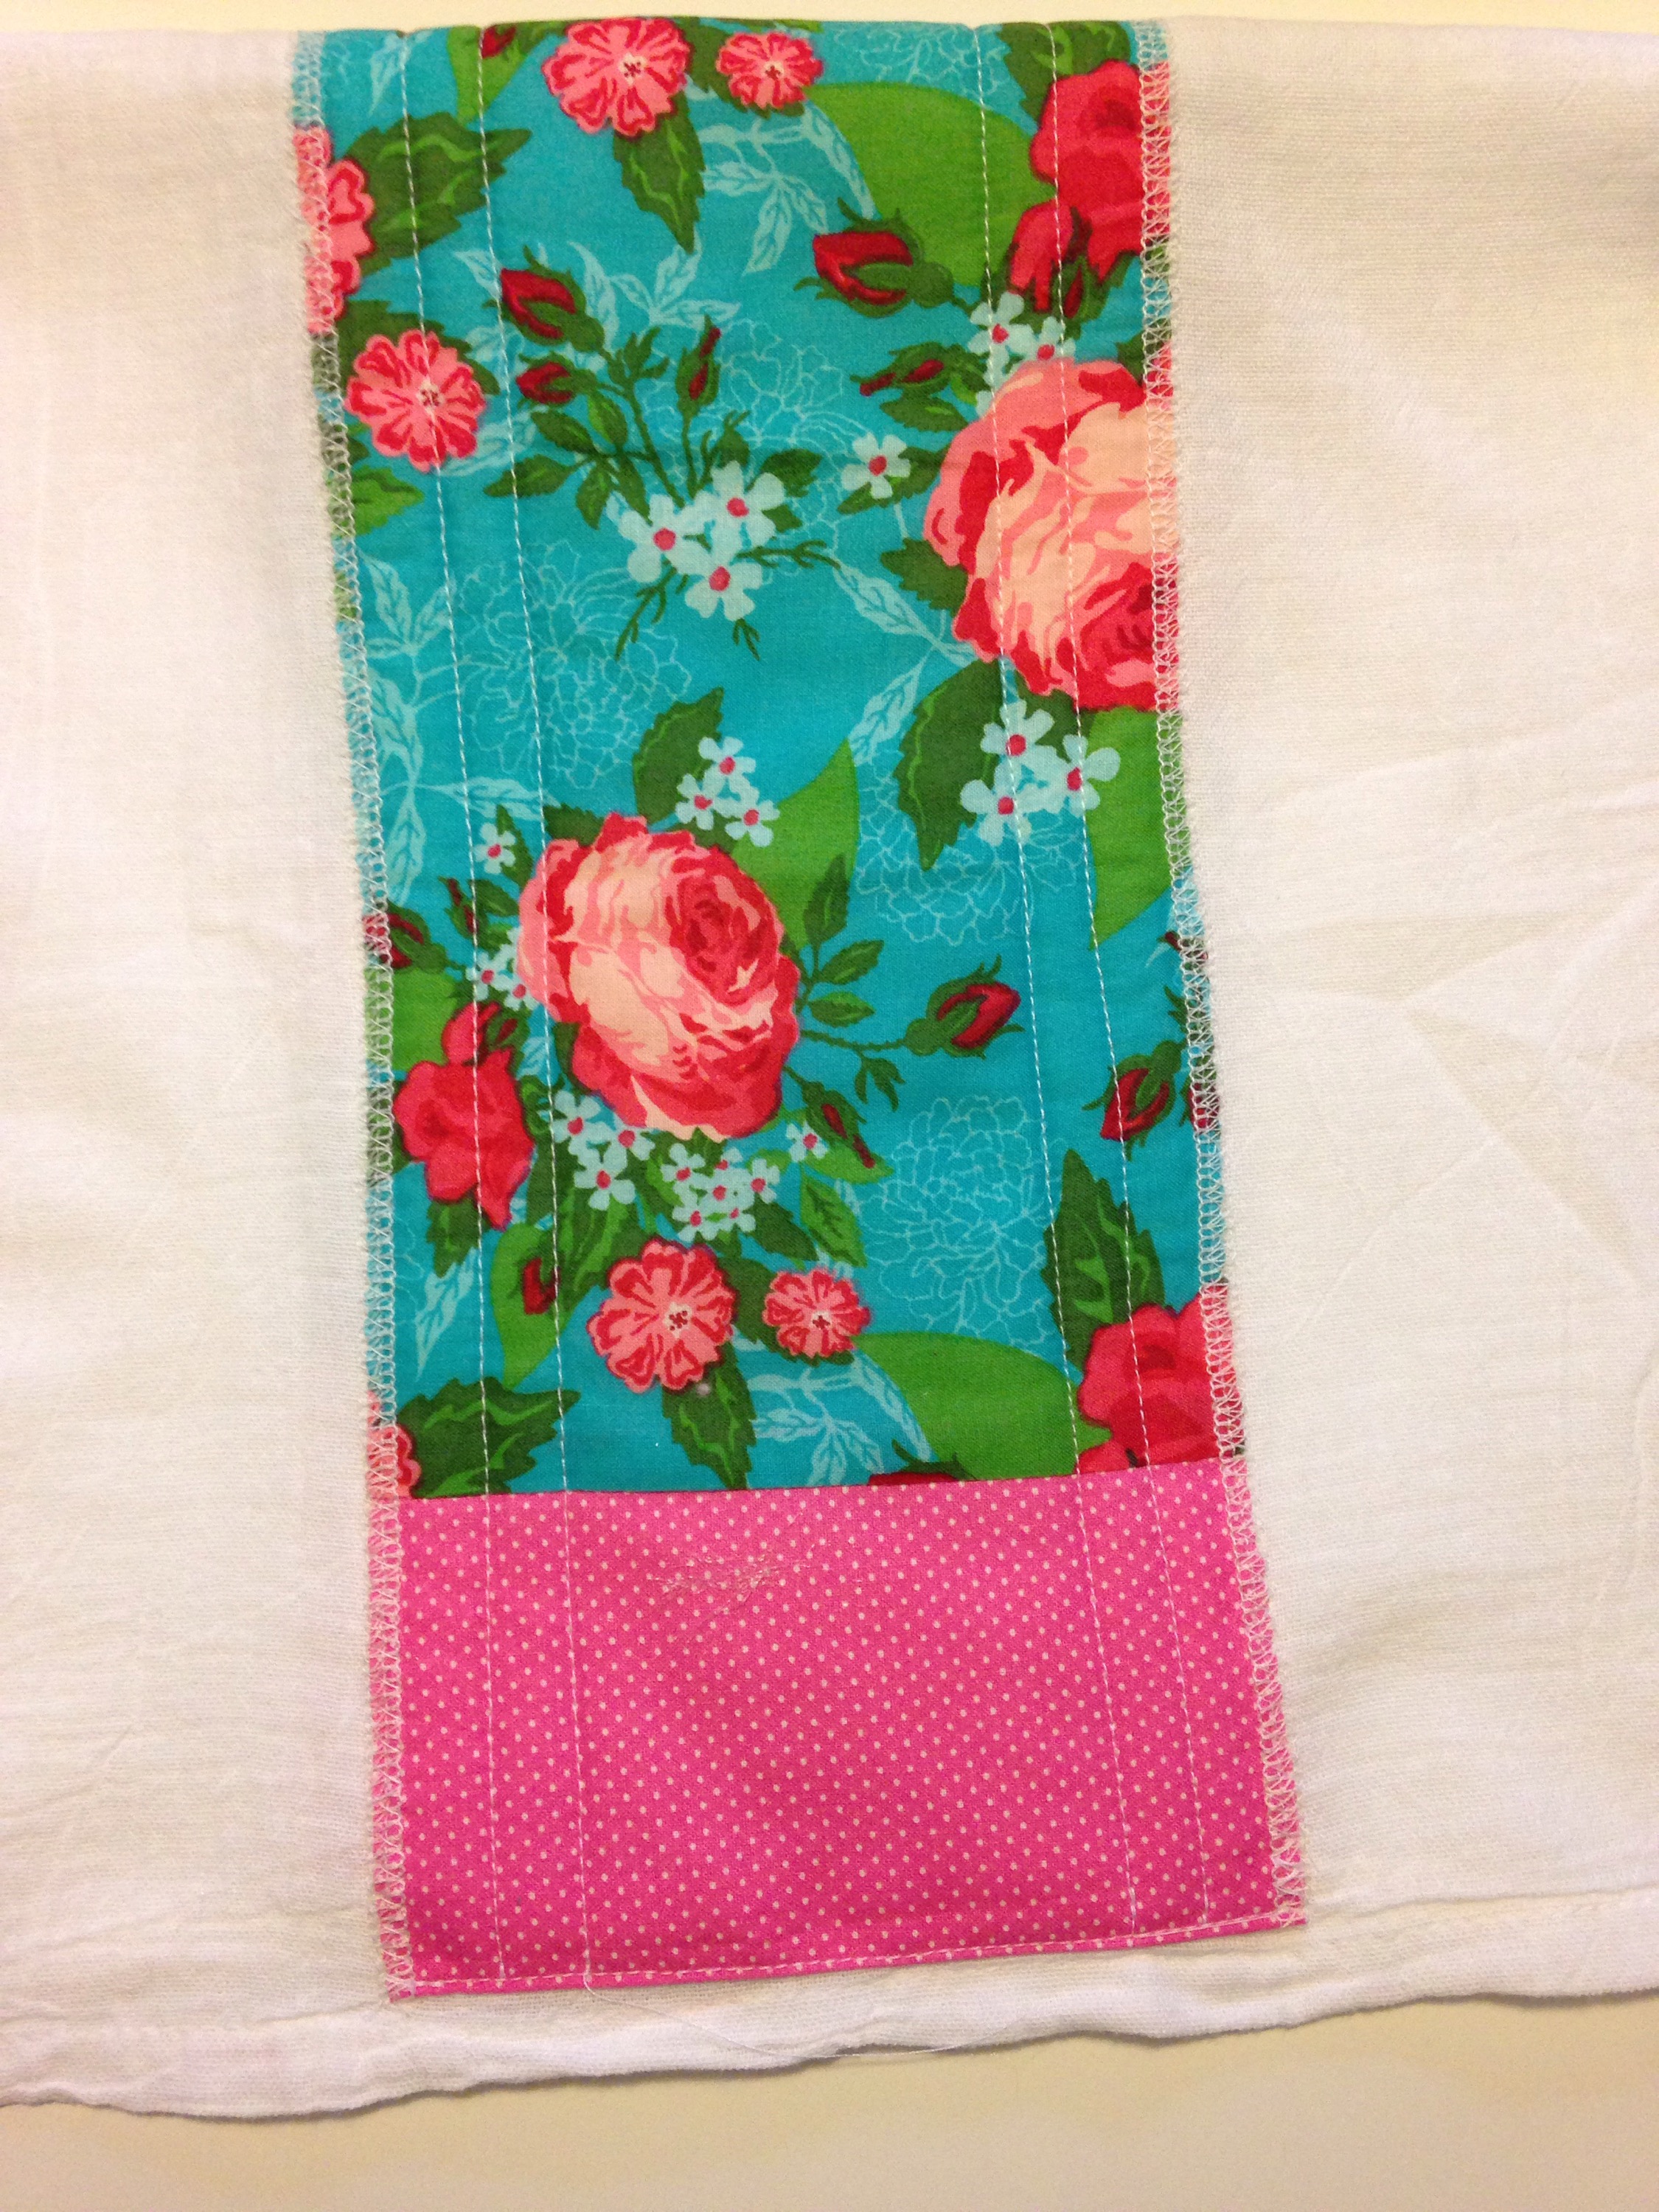
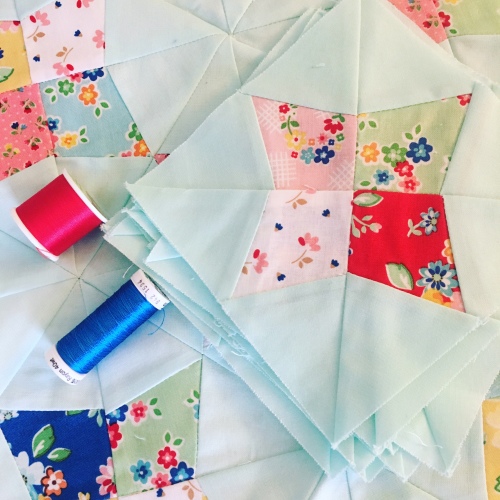
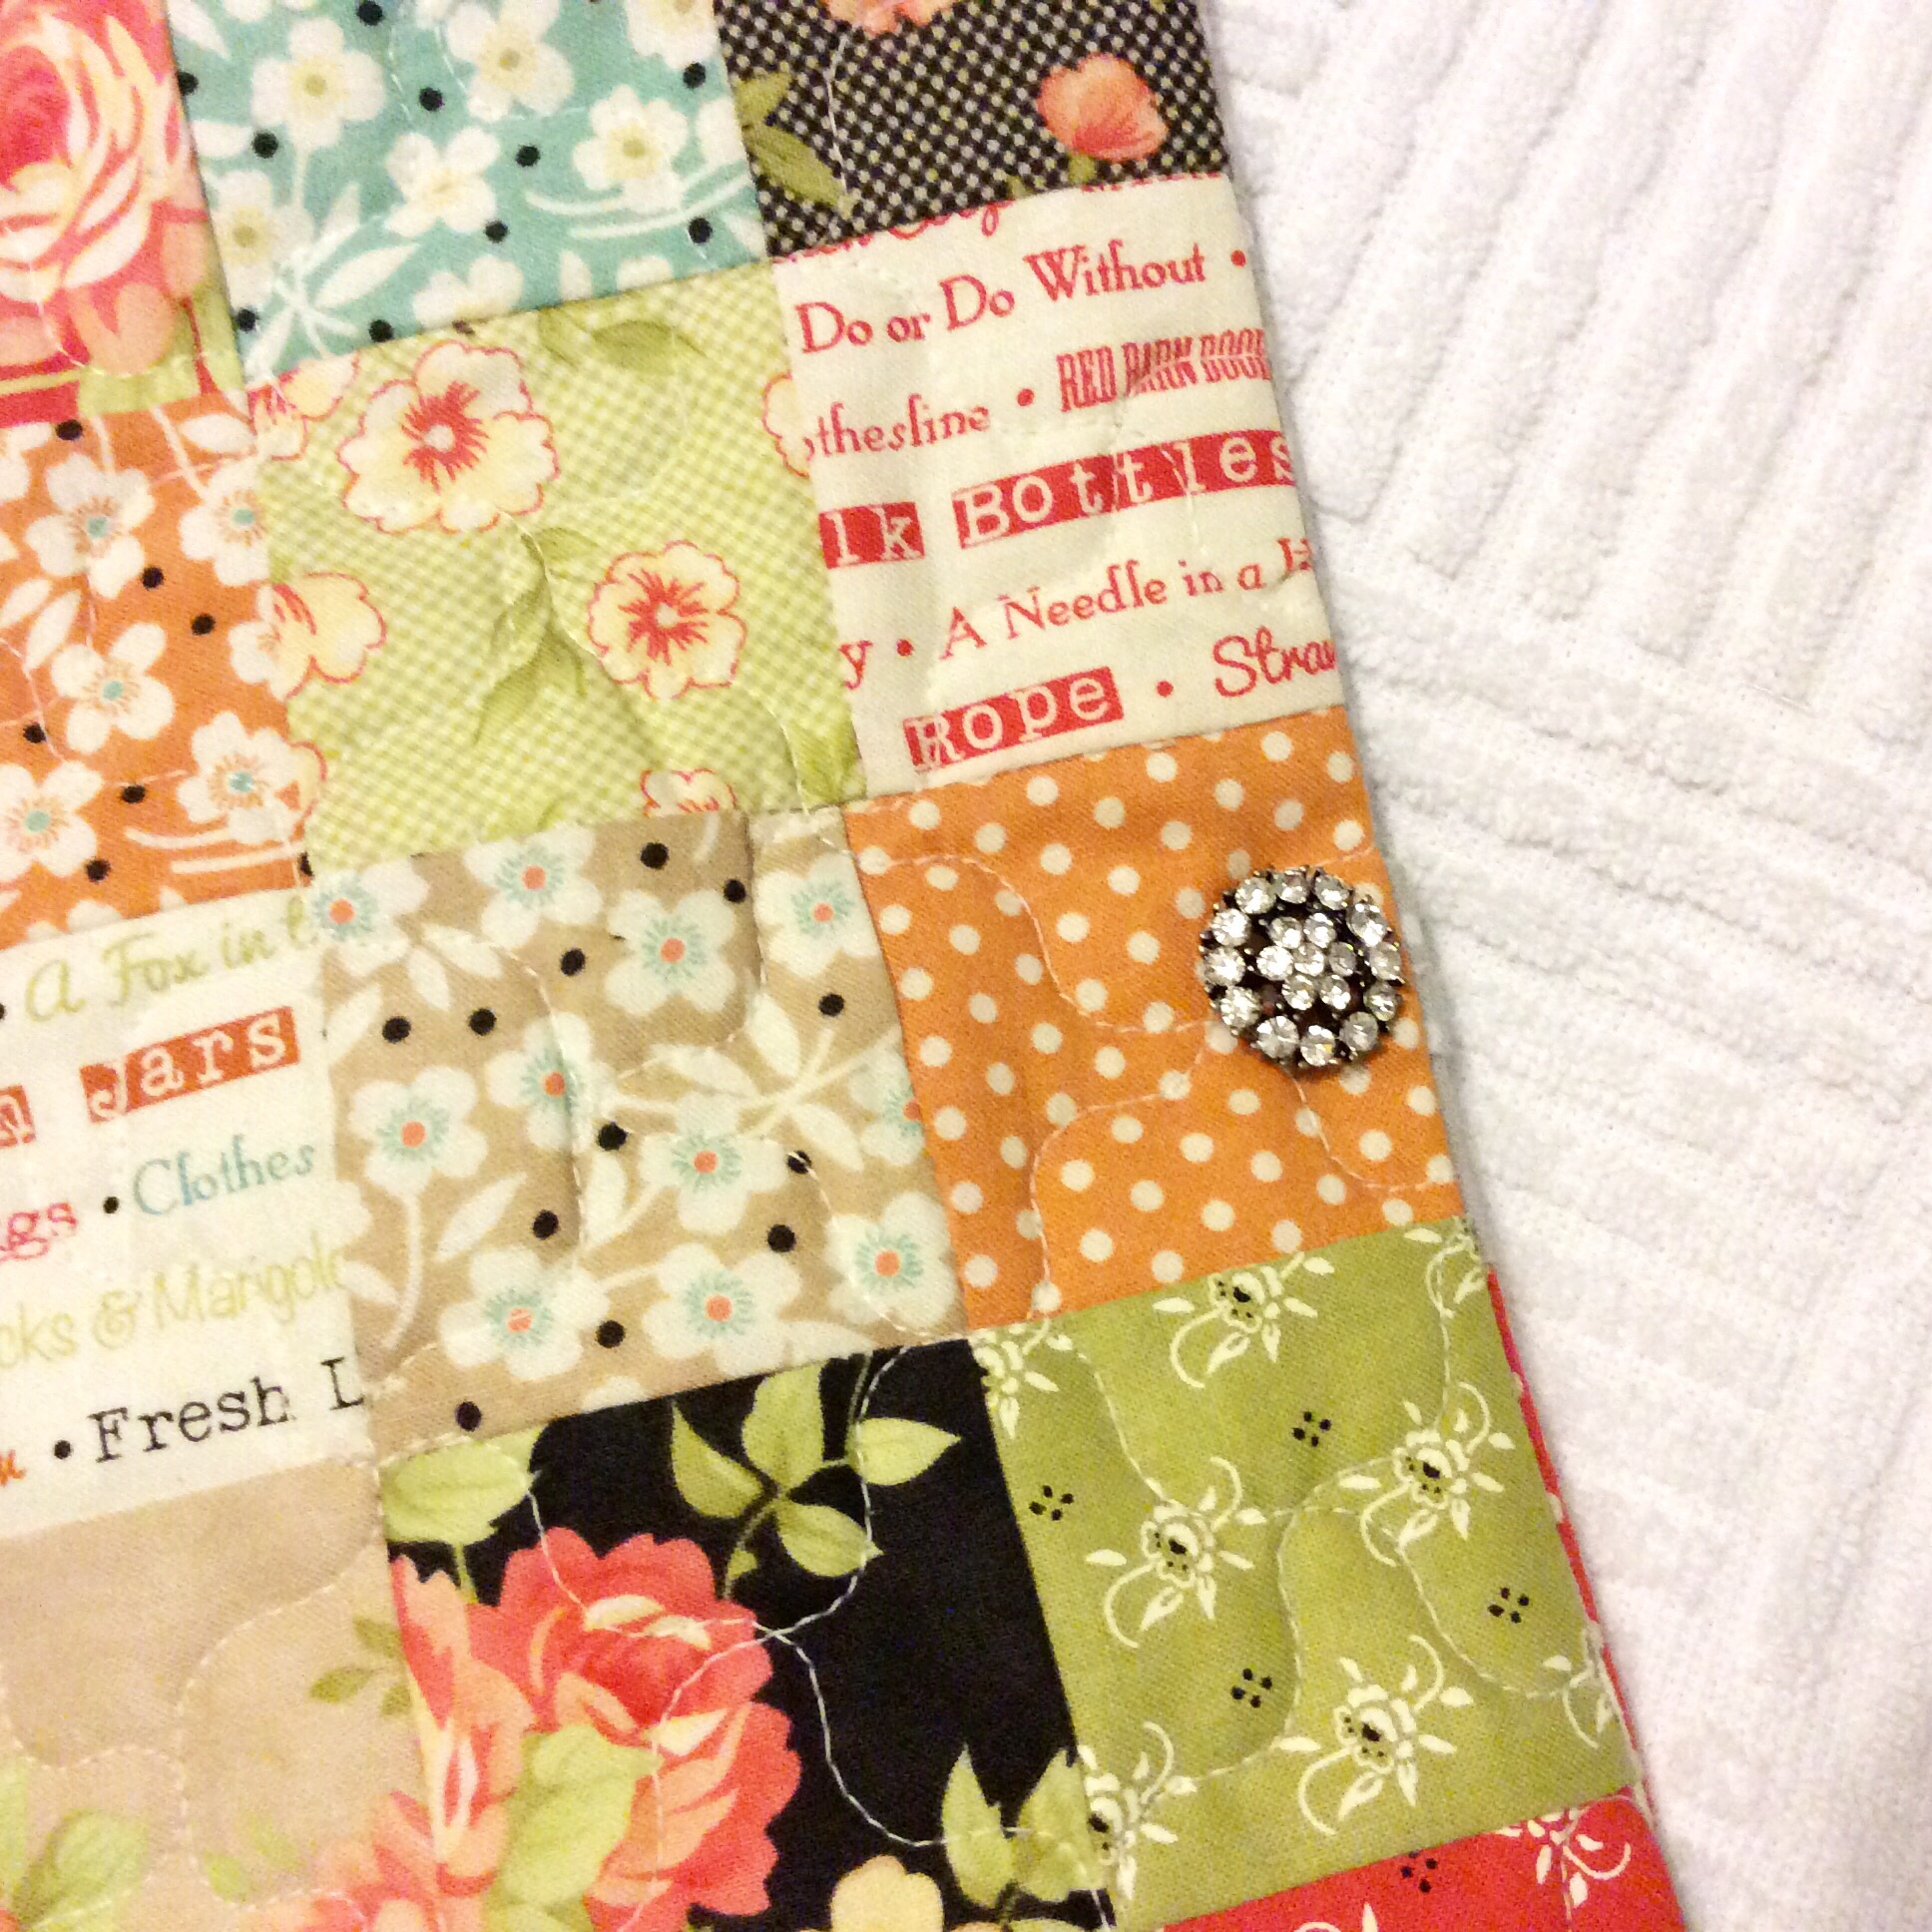
I used 2 fat quarters (18″x21″ piece of fabric), and some left-over fabric from a little blouse I’d made her.

.

.

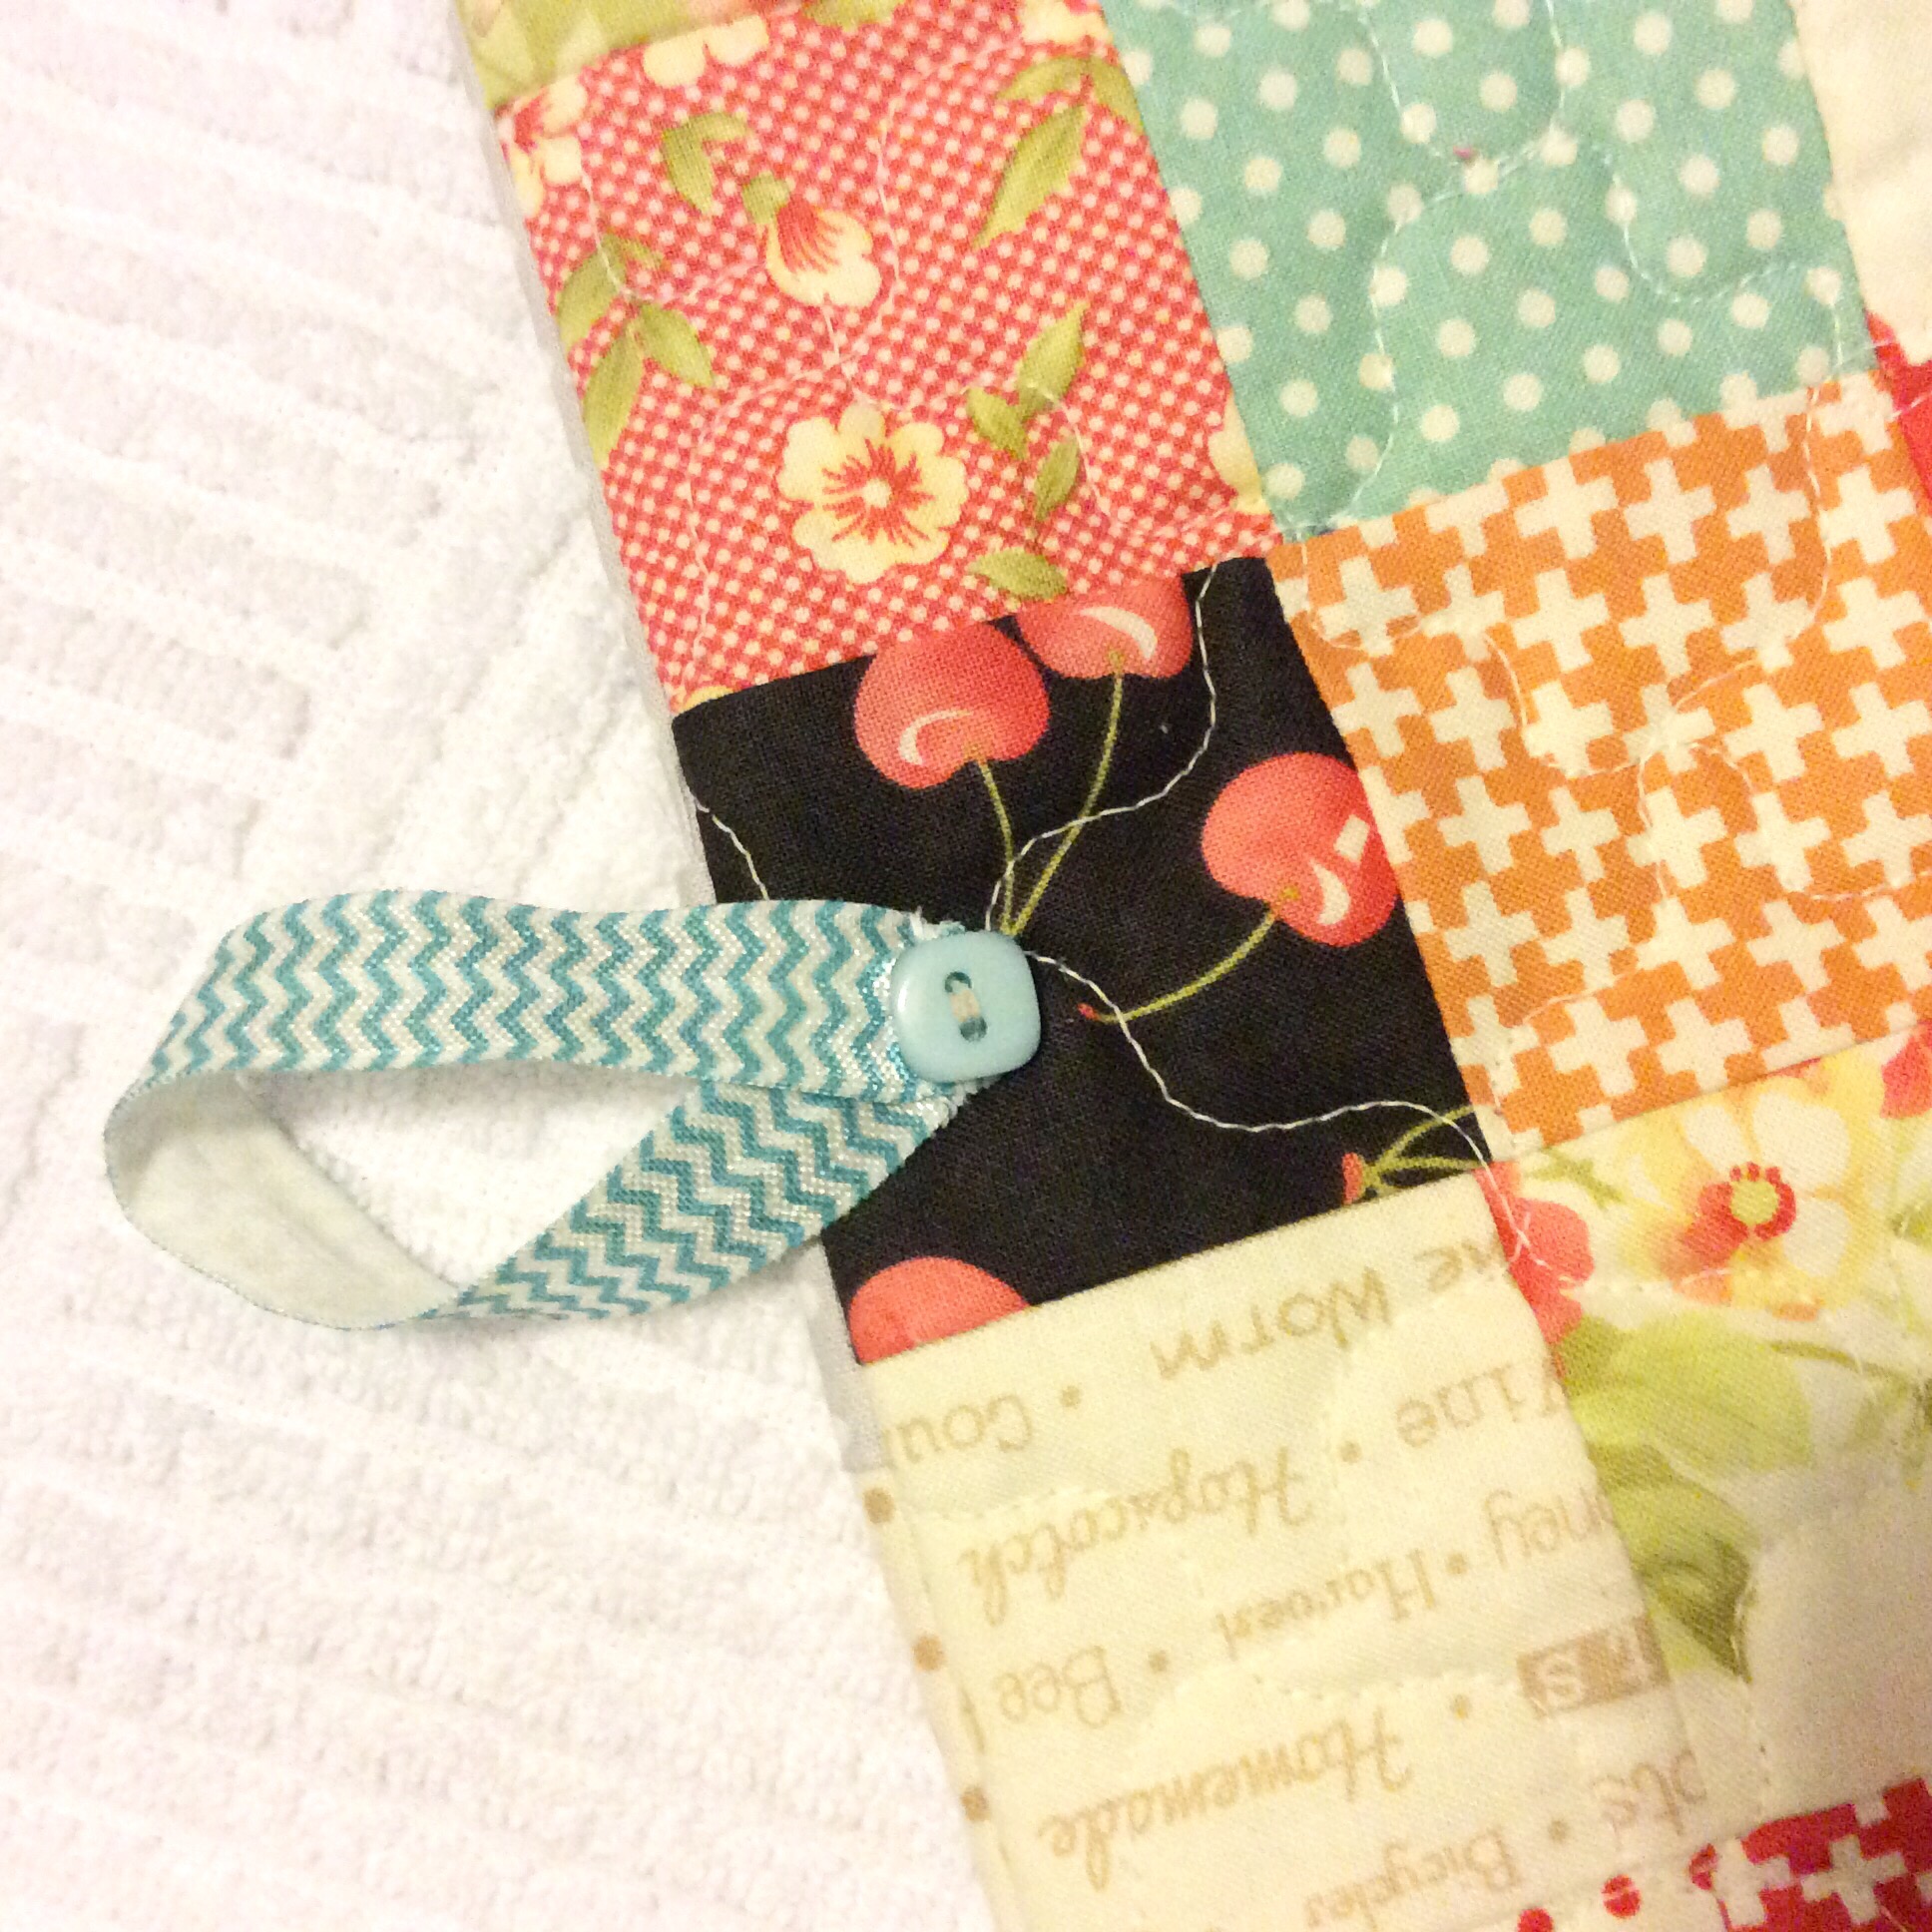
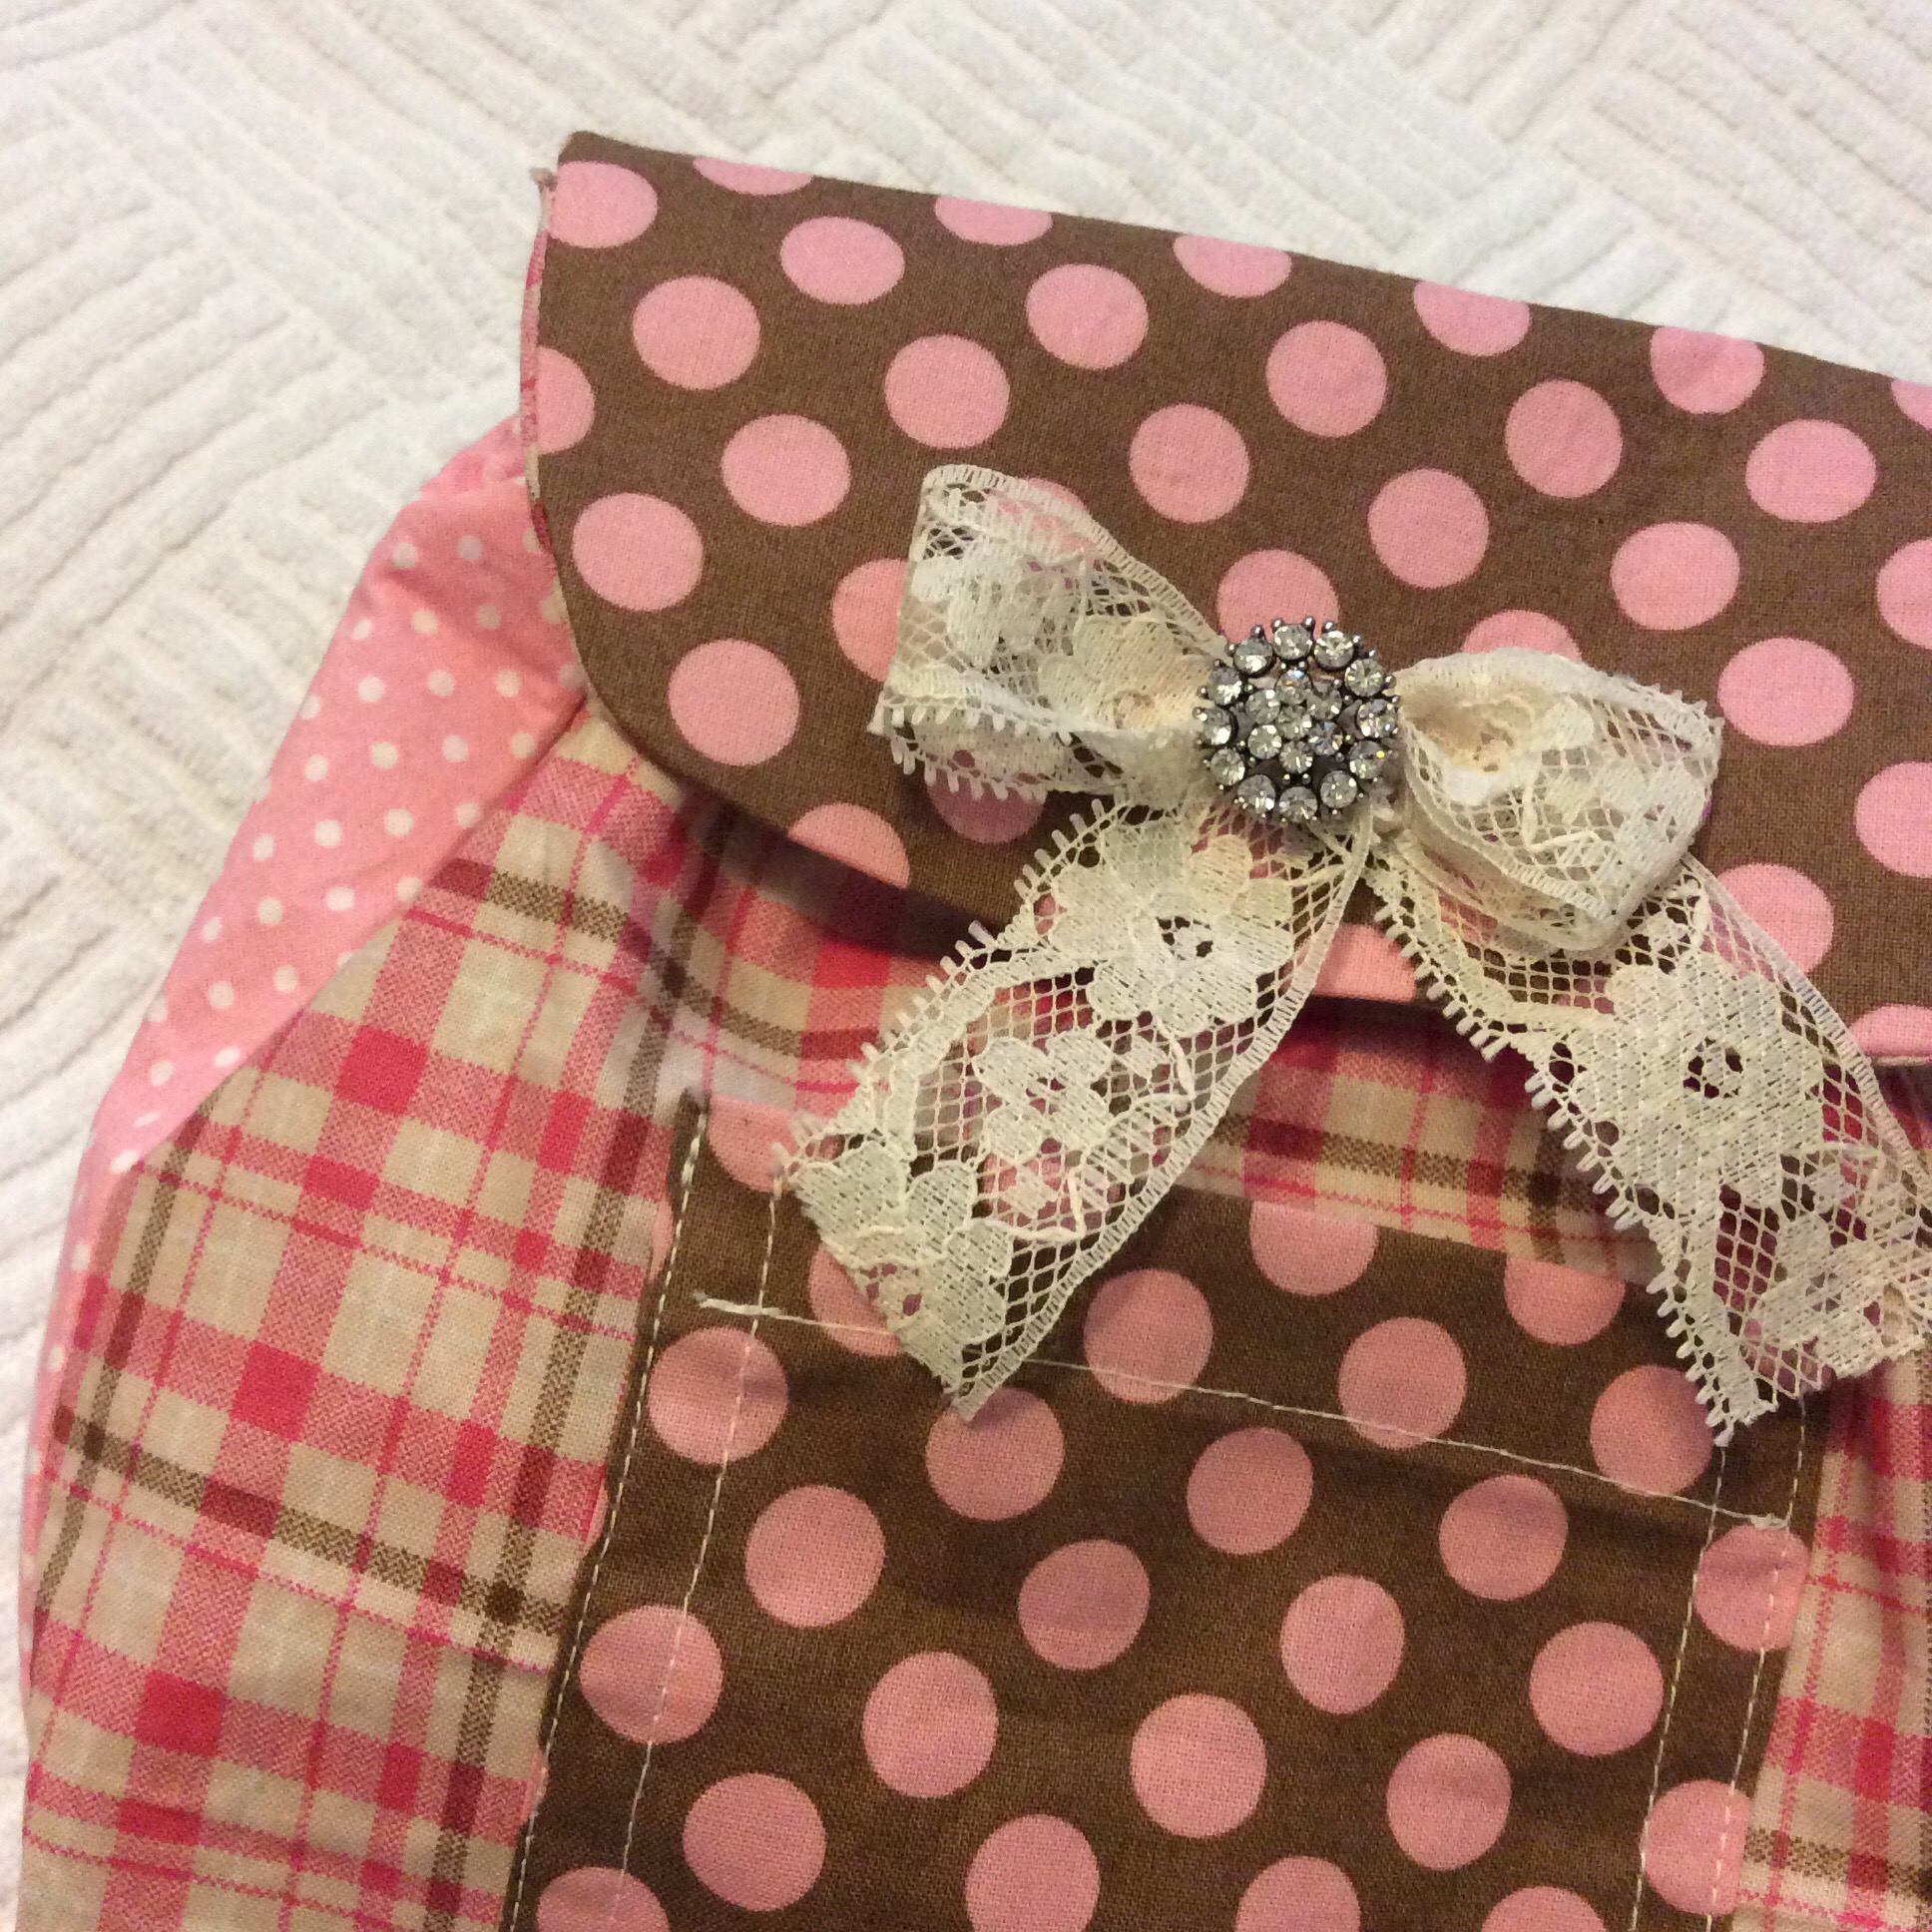
I used some lace instead of ribbon for the bow and added a bling button for a touch of fun… I thought she would like it, especially when she gets a little older (like 3).  🙂

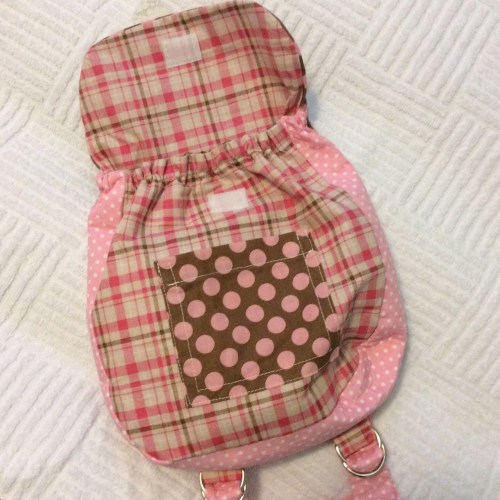
I sewed these on by hand so it wouldn’t show up on the under side of the flap.  I also wanted to make sure it was on securely so that it wouldn’t come off after much use.  

.

.
The pattern called for elastic at the top, which I thought was genius.  Everything stays inside, yet it’s easier to access than if it had a tie.  (Why don’t back packs for grown-ups have this feature??! 🙂 

I sewed on a piece of hook & loop tape for the closure – small enough that she can easily open it without a lot of effort, but big enough to keep it closed when she’s wearing it.  

The pocket is large enough to hold a small box of crayons, or pencils, or a little dolly… whatever she likes.  🙂

.

.
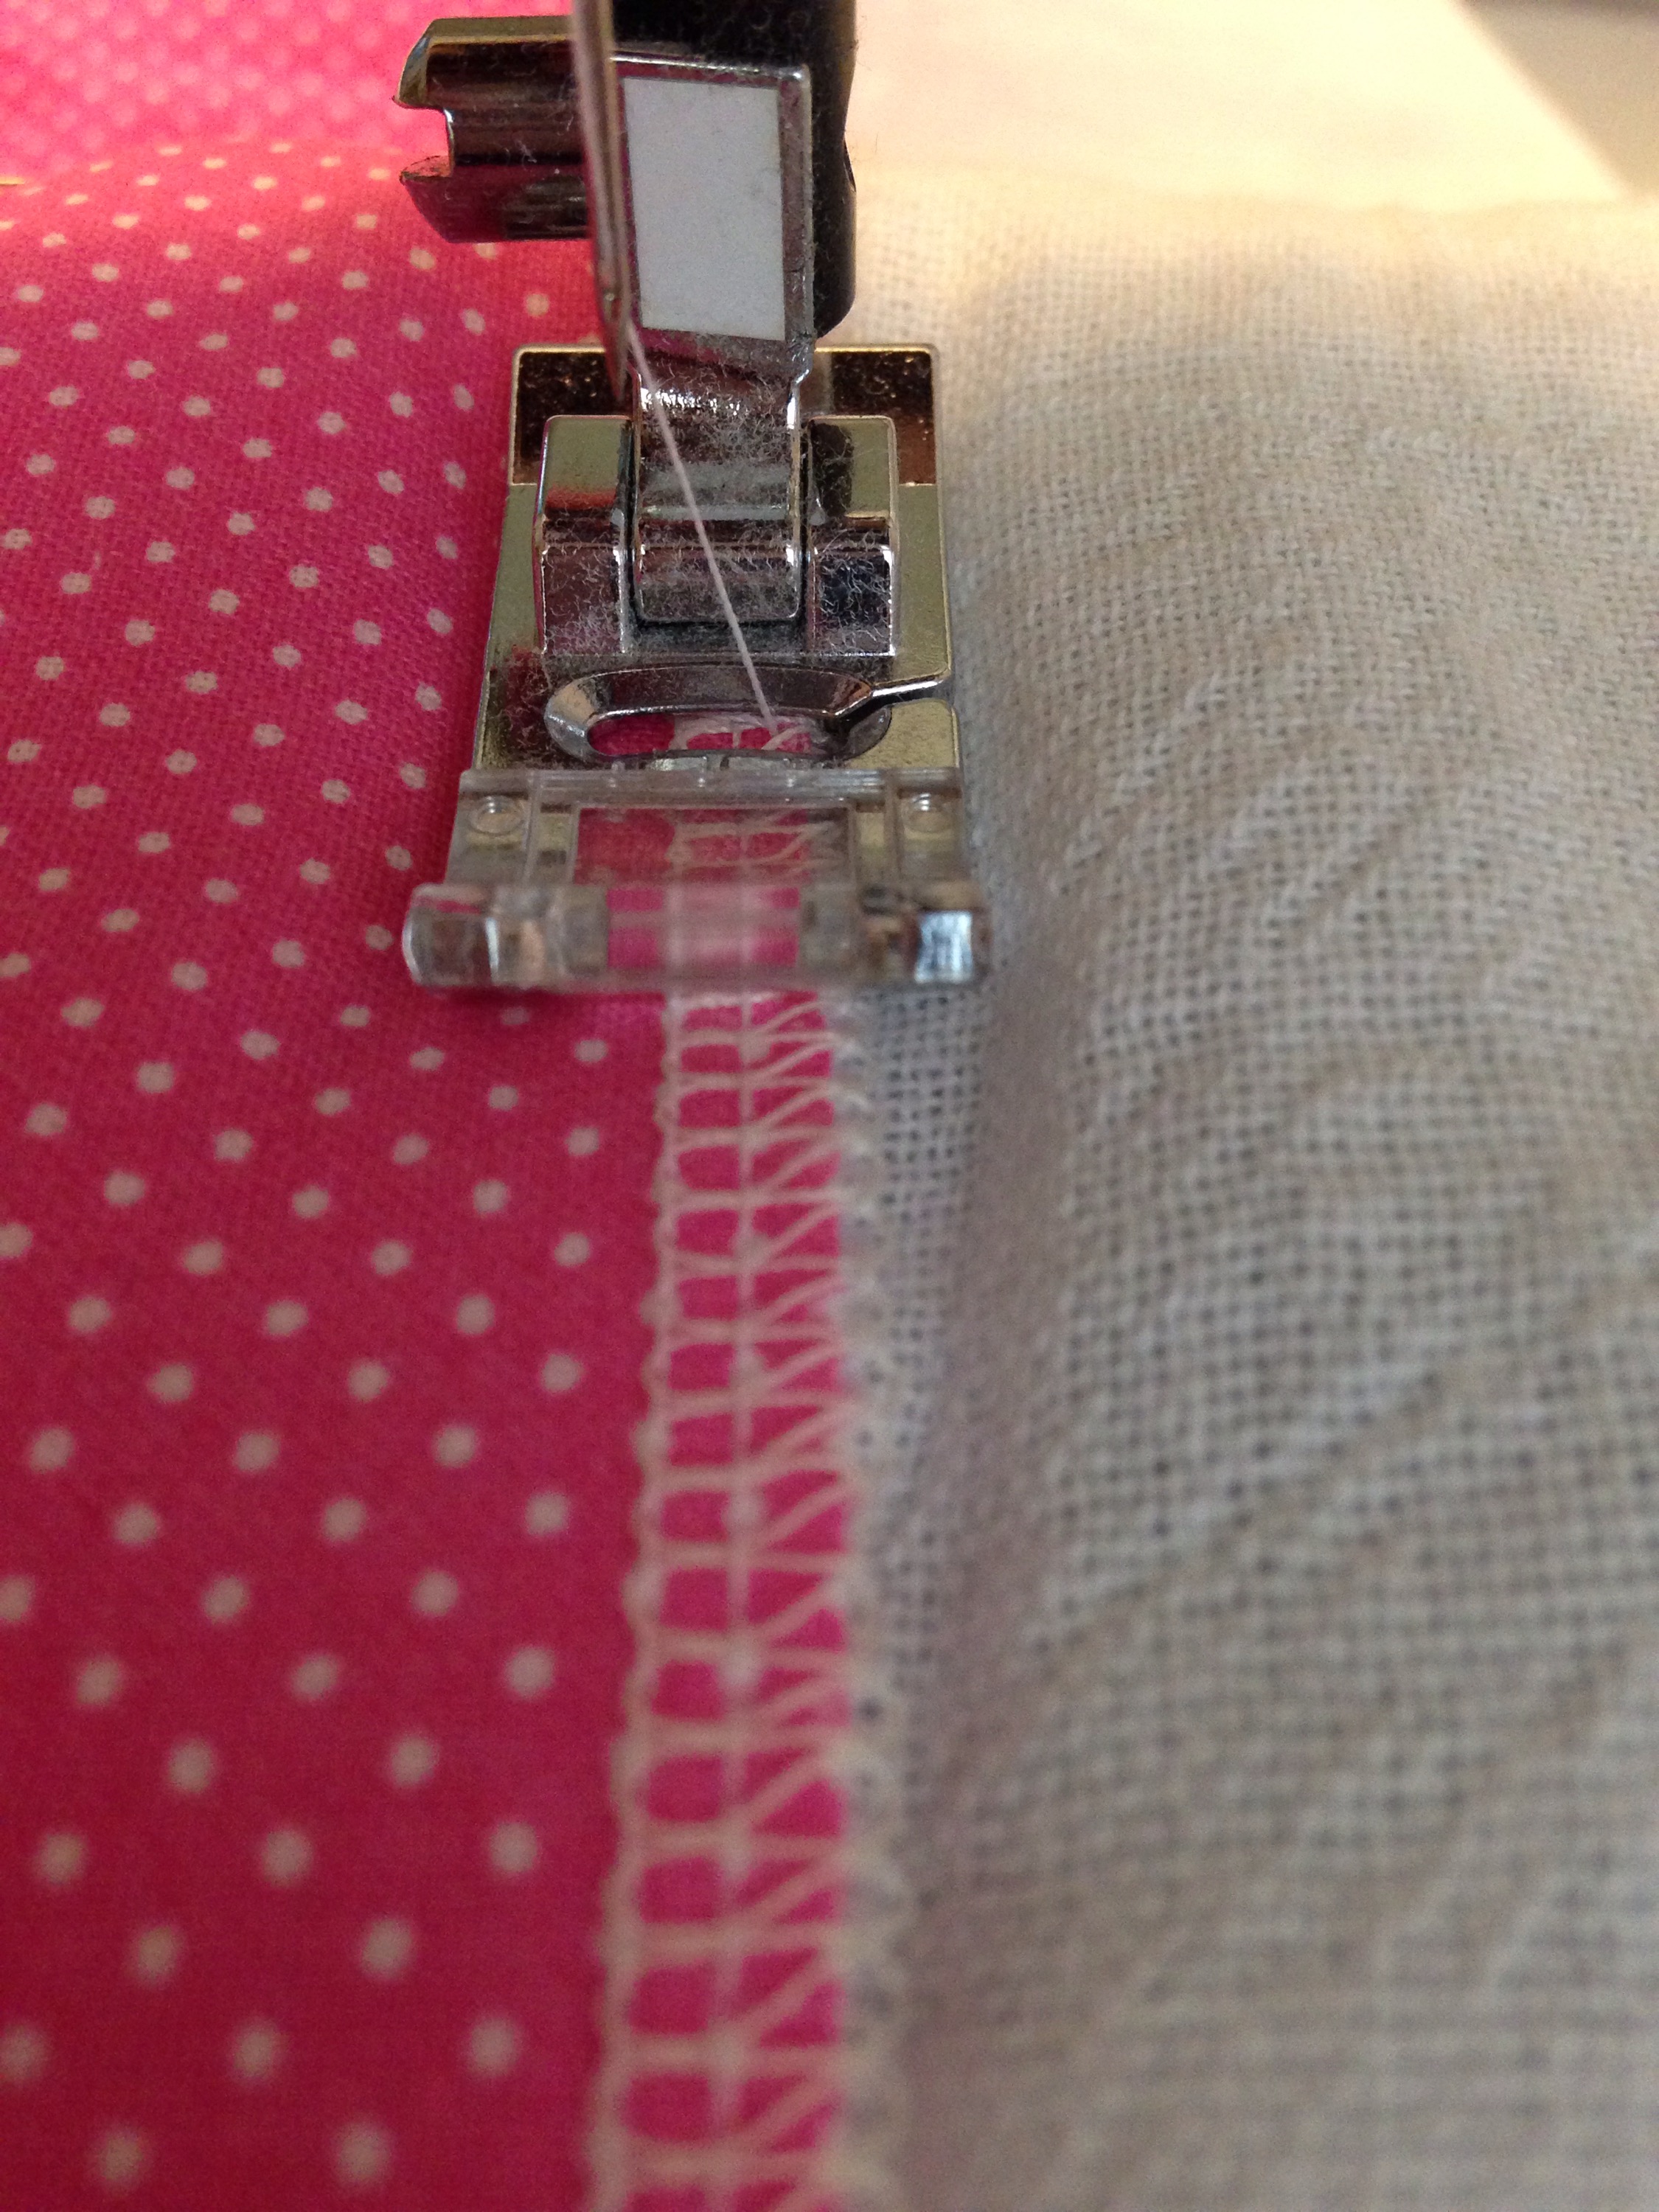
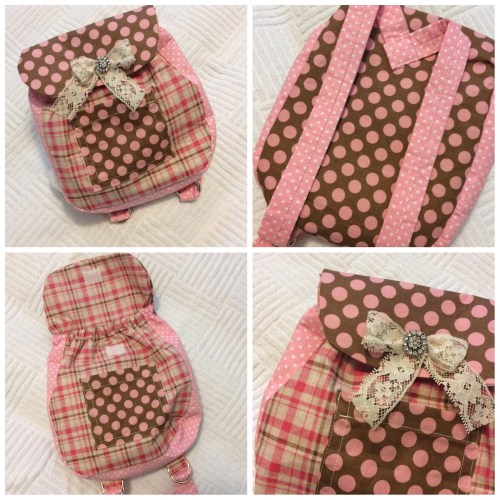
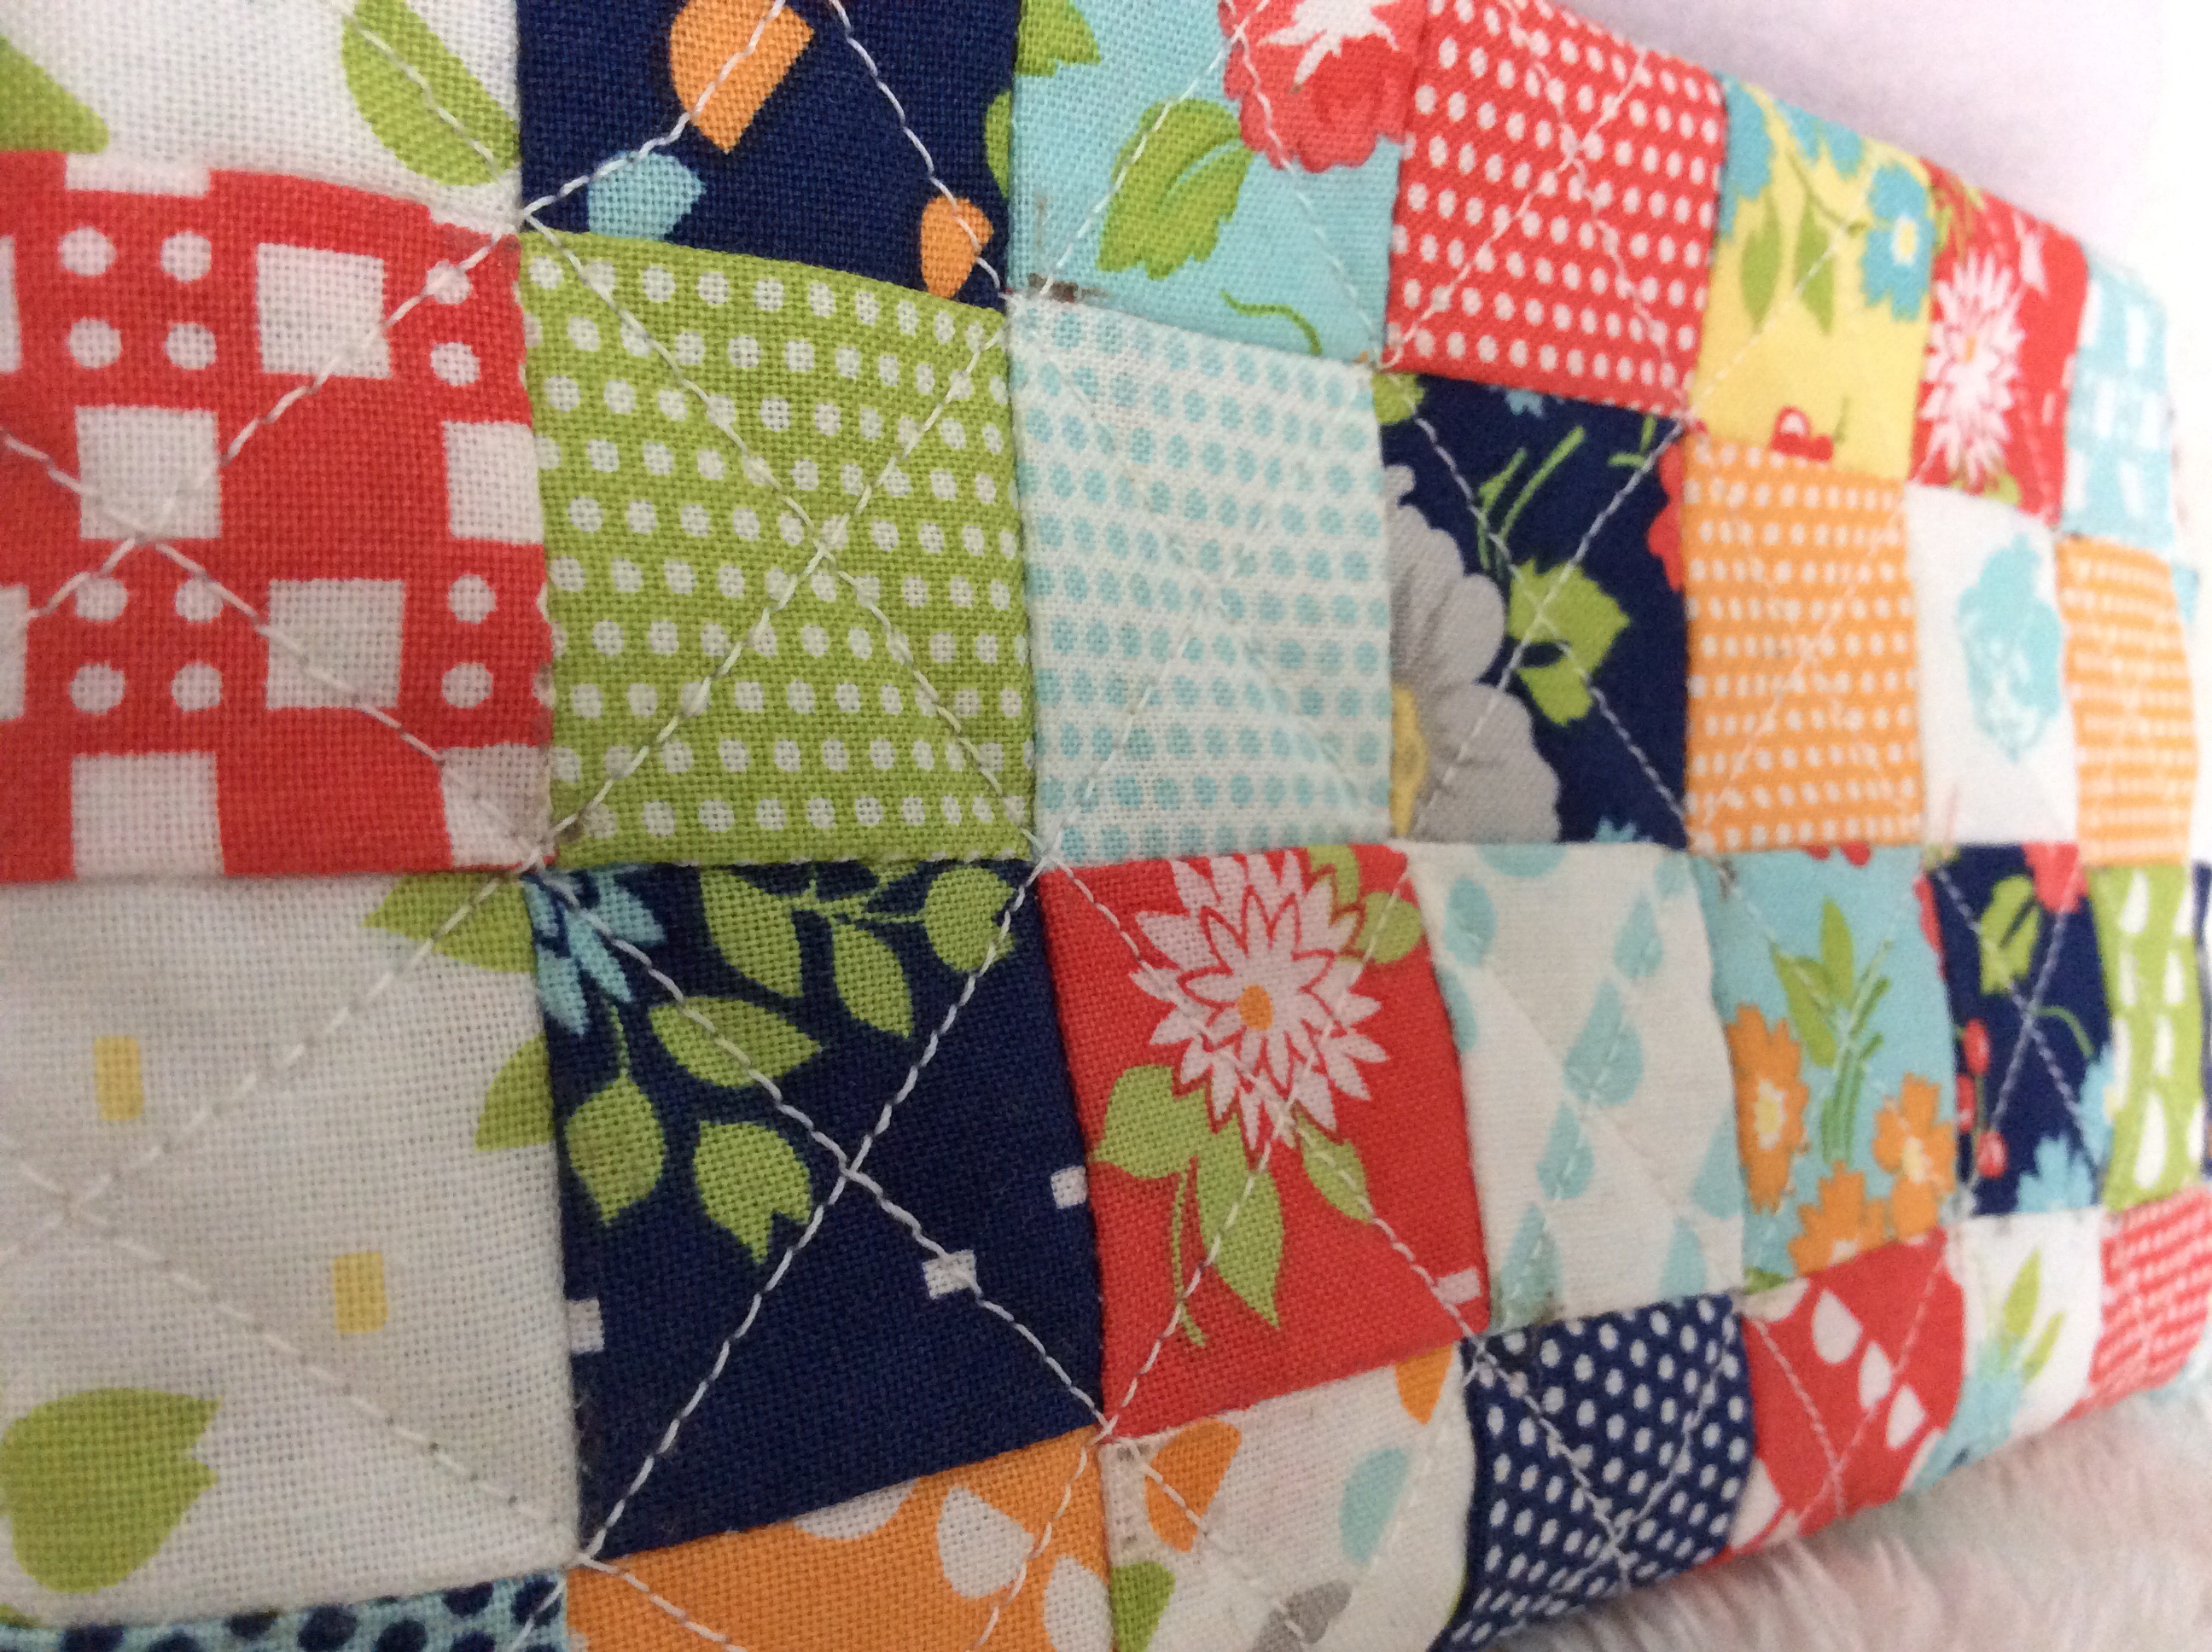
I used the wrong kind of interfacing… the pattern suggested light-weight and I knew that wouldn’t be enough, so I used heavy-weight; but it was really hard to sew. – even with a heavy-duty needle.  Next time, I will definitely use medium!  Lesson learned.  

However, it did feel like a “real, store-bought” back pack.  So, maybe the heavier interfacing was the right choice after all?  

The pattern was easy to understand and the straps went on without a problem.  I had never made a back pack before, so some of the placements (such as the tabs to pull the straps through) didn’t really make sense until everything was turned right-side-out.  So the lesson here is… follow the step-by-step instructions and in the end it’ll all make perfect sense.     Maybe, Kind of like life?… But I digress…

.

.
It was so much fun for me to make this, especially since it was for my granddaughter!  

Using the three fabrics was different and gave it a whole other look to it.  Maybe next time I’ll just use one… maybe.

I can hardly wait to sew another one!

.


.

Looking forward to sharing with you a pic of her wearing or using her little back pack.  I get to see her soon again!  🙂

More projects to share in the coming days.  Yay!

Have a blessed week,

Daisy

Read Full Post »

Granny Squares

I spend a lot of time in the car,

so I’m always looking for small projects I can do while “just sitting there”. . .
(not driving, btw)

.

img_1240

.

.

img_1233.

I’ve seen such beautiful crochet “modern-looking” patterns on Pinterest,
that I thought I’d make a bunch of little granny squares
(the only thing I know how to crochet)
and later piece them together in one of those pretty patterns.

I’ve never “pieced together” any crochet squares, so I’m hoping I’ll be able to
figure it out. . . Probably find some help on Youtube tutorials…

.

.

img_1234.

The first square I made, I used three colors I had picked out…

But that was too hard and took too much time,
(I wanted to finish it before my grandkids had kids)

so I decided I’d just do each square a solid color and then it might even look more “modern”.  (Whatever that means… vintage is new, new is old, retro is back… I’m so confused…)

.

img_1237.

Any ideas on what pattern I should make?

.

img_1238.

I used to hate grey, but now I really like it.

Does that mean I’m old?  The only people who liked grey when I was a kid were old people.

I guess that answers my question…

.

img_1241.

I have a stack of each color, and they look so pretty.

Maybe I should make three blankets – one in each color?

I don’t think so. . .

.

img_1240.

This yarn is super soft and a pleasure to work with.

Let me know if you have any suggestions.  Remember I’m new-ish at this. . .
All I know are the stitches associated with a granny square.

A while back, I made my daughter a blanket that was just one huge granny square.  It was fun and quick to make and I still love the colors she picked.

Crocheting for me is relaxing.  Helps me think and I enjoy the creative side of it.

Have fun being creative today!  🙂

Daisy


Read Full Post »

Every year I tell myself I’m going to start early on Christmas gifts next year.
And I do.
I really do.
I start.
But somewhere along March or April…
other things begin to crowd out the unfinished gifts list…

Sooooooo………..

I’ve been working hard on Christmas gifts for friends and family…

Some I’ve made using photography, some are sewn, some are quilted, and some are beaded…I can only post a few pics from the ones that have already opened their gifts, but I can’t wait to show you in the coming weeks, all the different fun projects.

For now, here are a few beaded gifts I had fun making…

.

.

This green and gold set was for a friend.  I just loved her reaction when she opened her little gift box.  That’s really what makes it all worth the time and effort – knowing they liked it and will enjoy wearing it.

.

.

.

..

.

..

This pink & silver & clear set was fun to make, too.

I use glass beads because I like the feel of them.

..

I tie them together with some ribbon and tulle.

.

..

These blues feel great…they’re a nice heavy glass and have the look of stone.

.

I’ve made some others, but those will have to wait because they won’t be opened until Christmas day, along with other sewn handmade gifts which I can’t wait to show you as soon as their recipients have opened them!  🙂

The rest of this week I won’t be working on crafts or gifts any more… Now it’s time to stop and enjoy the friends and family that come to visit, and to cherish the FaceTime calls with precious ones that live in other places.  I’m so thankful that we can see them even if it’s on the computer screen.  Their dear faces, smiling at us.  We’ll soon see them, too, in the next few weeks and months.

Take time to enjoy your loved ones this week.  Time is the greatest of gifts, anyway.

Happy Christmas week!

Daisy


Read Full Post »

Once upon a time,
long ago and far away
while on vacation,
I started this quilt…

IMG_0280


I diligently sewed these little squares together by hand
(I didn’t have my sewing machine with me).
You can tell I was a beginner because some of the squares don’t line up!

For years these nine-patch blocks sat forgotten…

IMG_0281


The nice lady who owned the cabin we stayed in gave me a bag of scraps
from her collection.  She was an avid quilter and had lots & lots of fabric.
I was a beginner and just wanted something to do at night while on our
restful vacation.  (There was no TV, radio, internet, or signal).
We liked it so much there that we went back several years later, Btw.

They were random scraps I probably never would’ve chosen,
but I was just happy to have some fabric to sew together.


IMG_0282

(BACK TO QUILT STORY…)

Then one day
(yesterday)

I “found” them and said, “Oh!  Alas!  The forgotten blocks
from that vacation long ago and far away!”


IMG_0283


I decided to bring those blocks together
and begin the process of finishing this neglected quilt.


IMG_0284


I didn’t over-think it, I just sat and sewed the blocks together.

I had been thinking about putting a black border around the sides
to make it big enough for a lap quilt, but…


IMG_0285
What do you think I should do?
What color border do you think would look better?
I thought maybe two borders of different widths & colors might be better?


IMG_0302


Or maybe I should just make it a table cloth with a nice border around it??
I could take it on picnics…

Any suggestions?

And so… the Forgotten Quilt will soon be finished and
forgotten no longer.
The End
(for now)

I’ll post soon with the finished look.

I’m linking with Freshly Pieced and with Sew Fresh Quilts.
Go on over and see what pretty things they’re working on!

Daisy

Read Full Post »

I’ve been sewing lately…

Tiny little garments for my two granddaughters…  so much fun!!

Today I wanted to post about one of the easiest projects I’ve done so far–
Burp Cloths

IMG_1651

It was fast, easy, and I think they turned out cute.

I bought some flour sacks at Walmart,
I think I paid $5 for this set of 5:

IMG_1638

They were large enough to cut in half and it still turned out to be a generous size for a burp cloth.

That means I got 2 burp cloths out of each flour sack towel —
so you can make 10 out of that set of 5!

IMG_1642

I cut a piece of quilt batting the size of the center of the burp cloth.
After I measured it and cut it, then I placed it on the center of the flour sack towel.

IMG_1643

Cutting the flour sack towel was easy because the fold lines were exactly on the center–
I didn’t even have to measure it!


Here’s a picture of the flour sack towel cut in half – the one on the left is done,
and the one on the right is just ready for the batting & fabric piece.

IMG_1641

As soon as I cut the flour sack in half, I serged the long edges.
The shorter edges were already hemmed, so I didn’t have to do anything there.
I serged the edges of the print cotton fabric I was going to sew
in the center of the burp cloth,
Then I centered it on the flour sack, right over the batting,
I pinned it down,
and sewed it down each long edge:

IMG_1632

Then I sewed 2 lines down the long edges,
just like the store-bought burp clothes have.

IMG_1633
I wasn’t too picky about it.
I did pin the edges down before I sewed
and that kept the fabric & batting down nicely.

IMG_1635


I tuned down the short edges and sewed a hem very close to the edge.
I ironed it once everything was sewn.

IMG_1637


IMG_1646


My daughter chose the rose fabric from a stash of fat quarters,
but it wasn’t long enough so I added a coordinating fabric at each end.

IMG_1648
I thought it looked even nicer than the other burp cloth because the two fabrics
looked so nice together.


IMG_1649


Because of the large size of the flour sacks, these burp cloths turn out
larger than the store-bought ones.
That was something I really liked.
We’ve used them already and it worked well because of their larger size.
It was a quick project and I look forward to making more like these.
IMG_1650
I’ve made some bibs, tiny dresses, bonnets, blankets…
can’t wait to share those with you in the coming days.  🙂

Happy sewing!

Daisy

Read Full Post »

Older Posts »